
Repurpose Welding Rod Container

This welding rod metal container can be repurposed as a universal holder for anything from drill bits, to pencils, to screws, or whatever. Some basic tools can save this tube from the landfill and provide some additional organization for your garage or shop. Here are the simple steps I took to make this project unfold.
Step 1:
Select a desired height
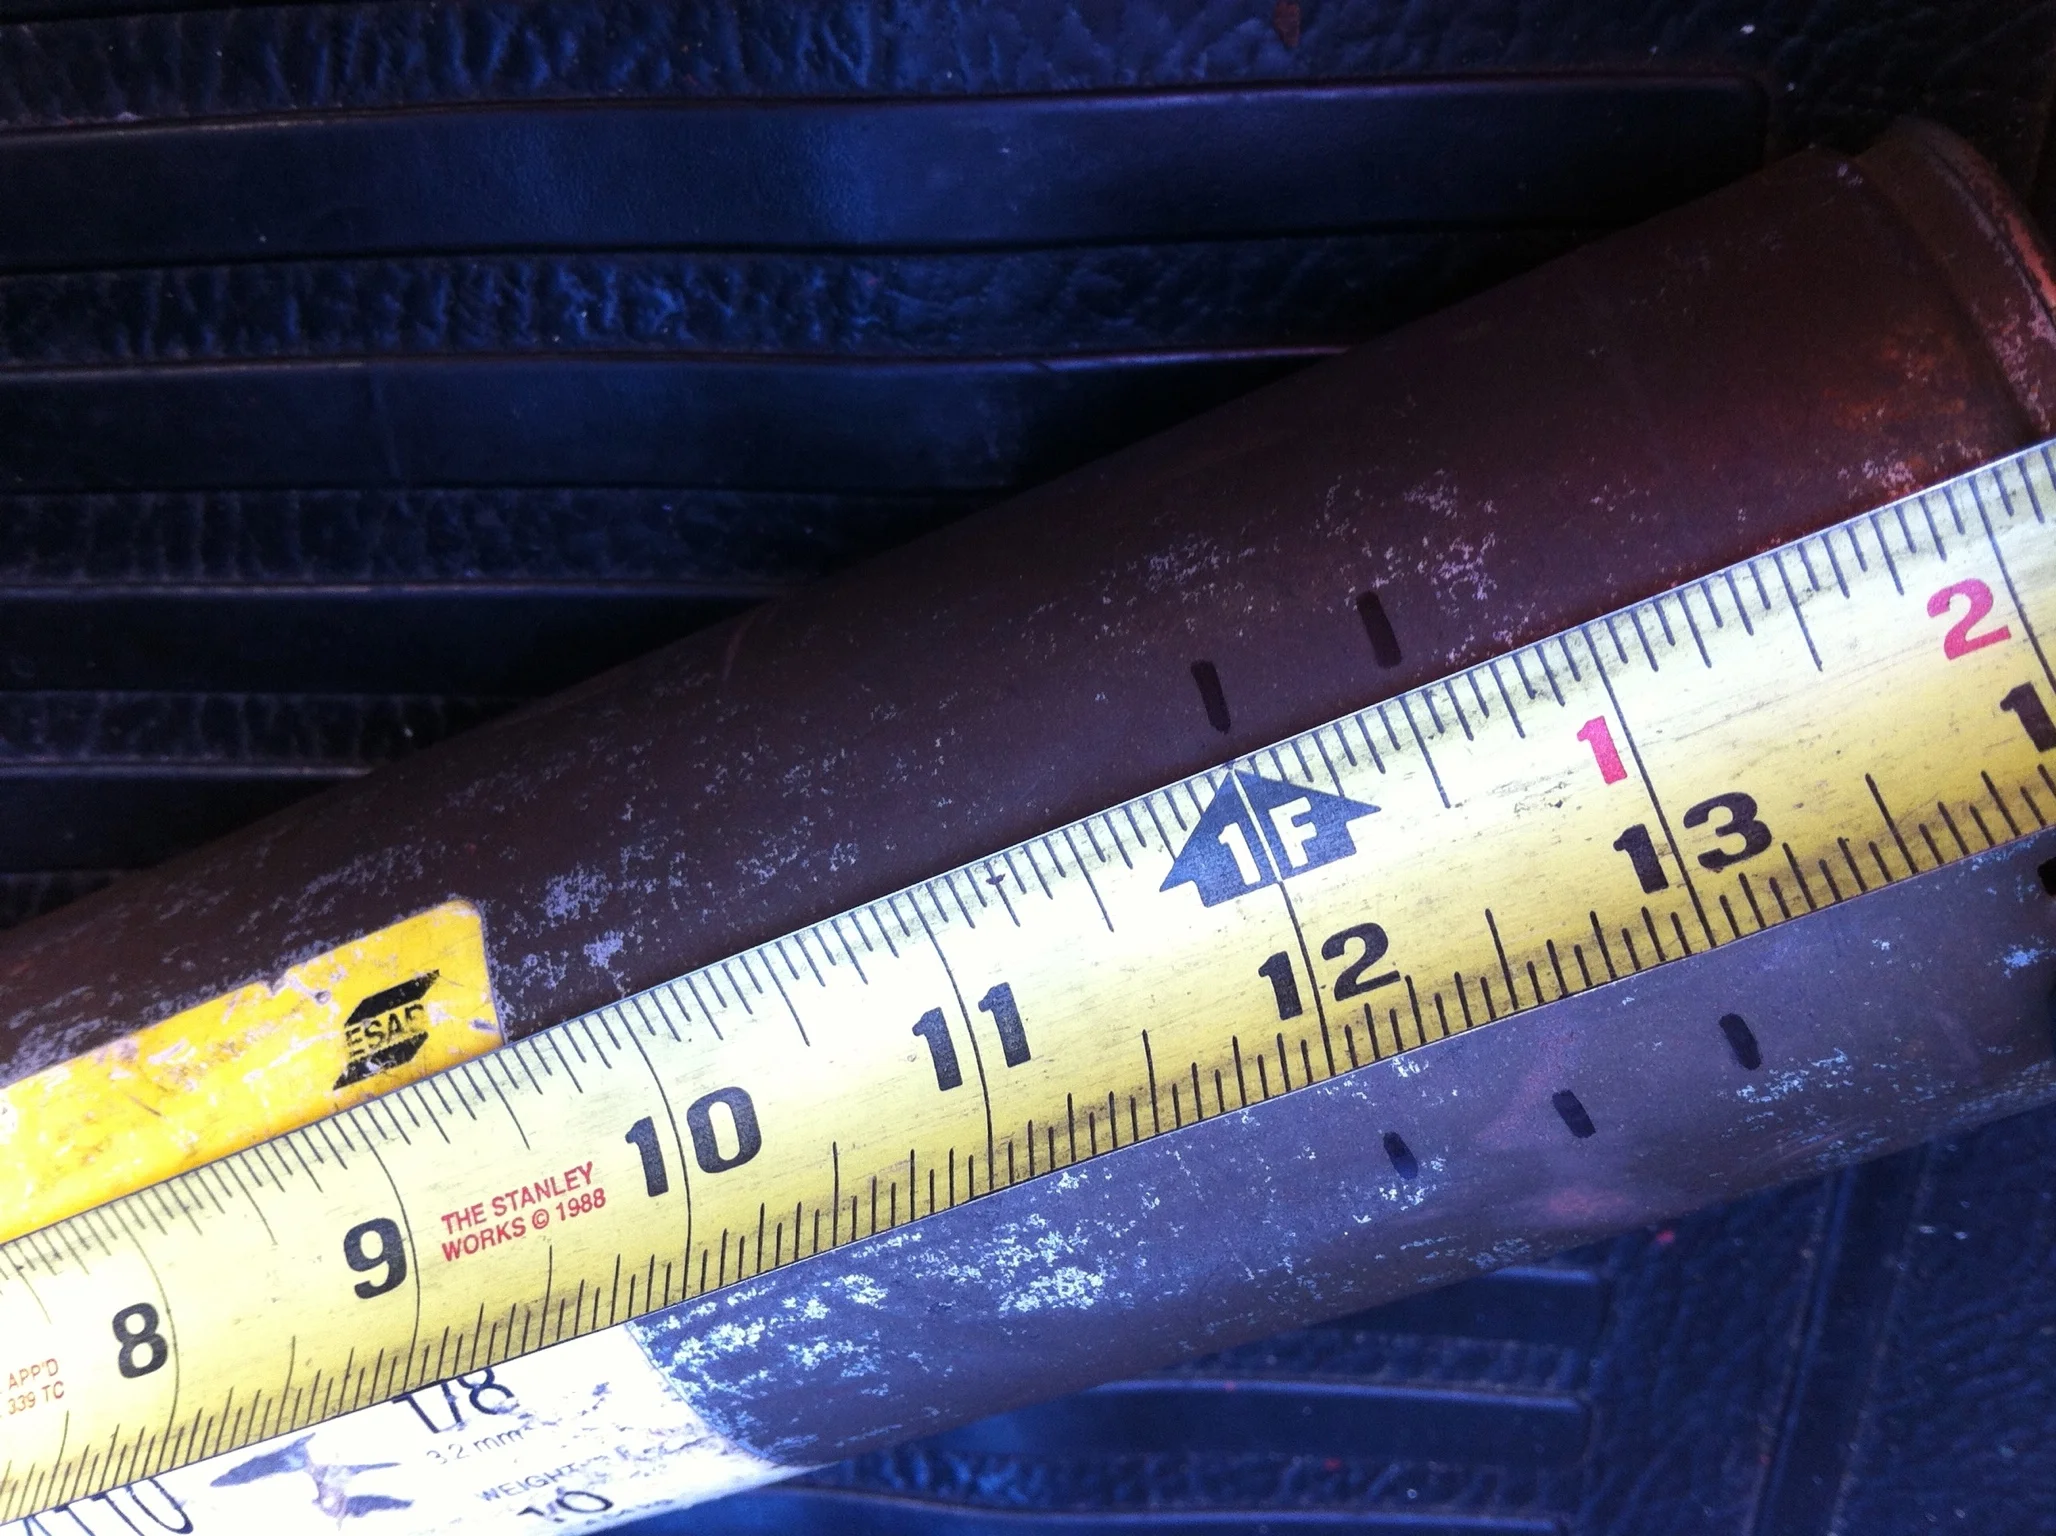
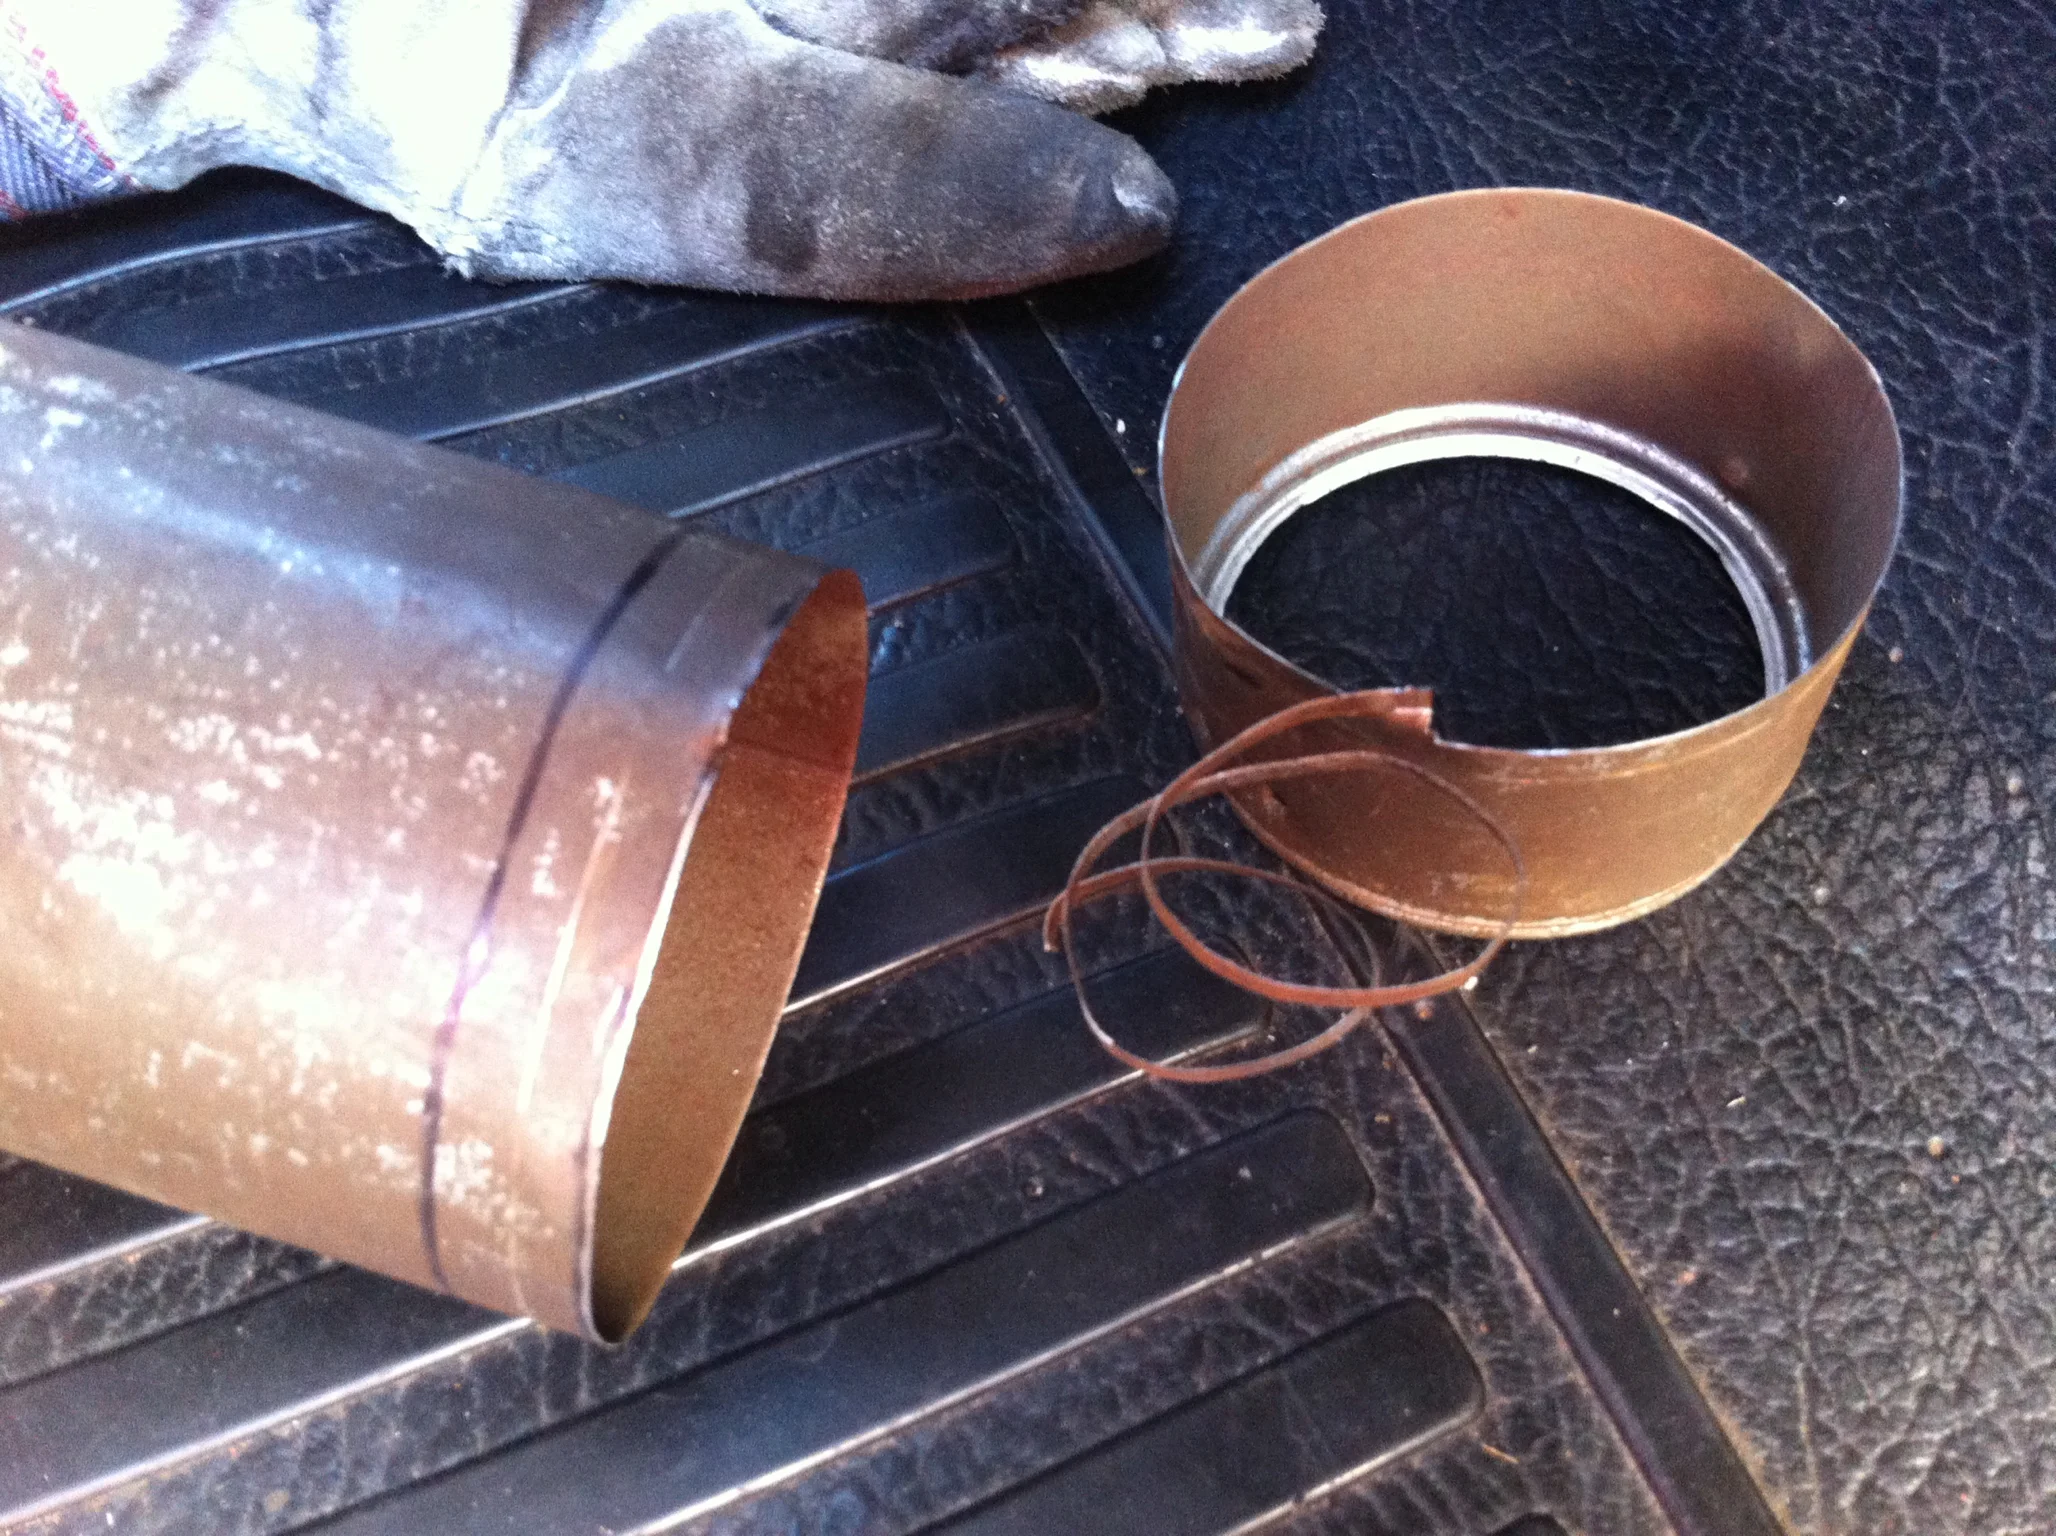
I decided to make the finished container height 12” in order to store some paint mixing paddles that didn’t have a home in my garage. If I had planned to store something like pencils or paper clips, I would have adjusted the height accordingly. Having a sample of what will be stored can help determine a height that will facilitate the removal of those contents when I need to retrieve them.
I start by placing marks on the container at the finished height and also about 1/2” above this mark to allow for a fold-over tab. Once I’ve marked the container for the height and the tab, I transfer the marks all the way around the circumference parallel with the bottom edge.
Step 2
Cut along tab edge mark
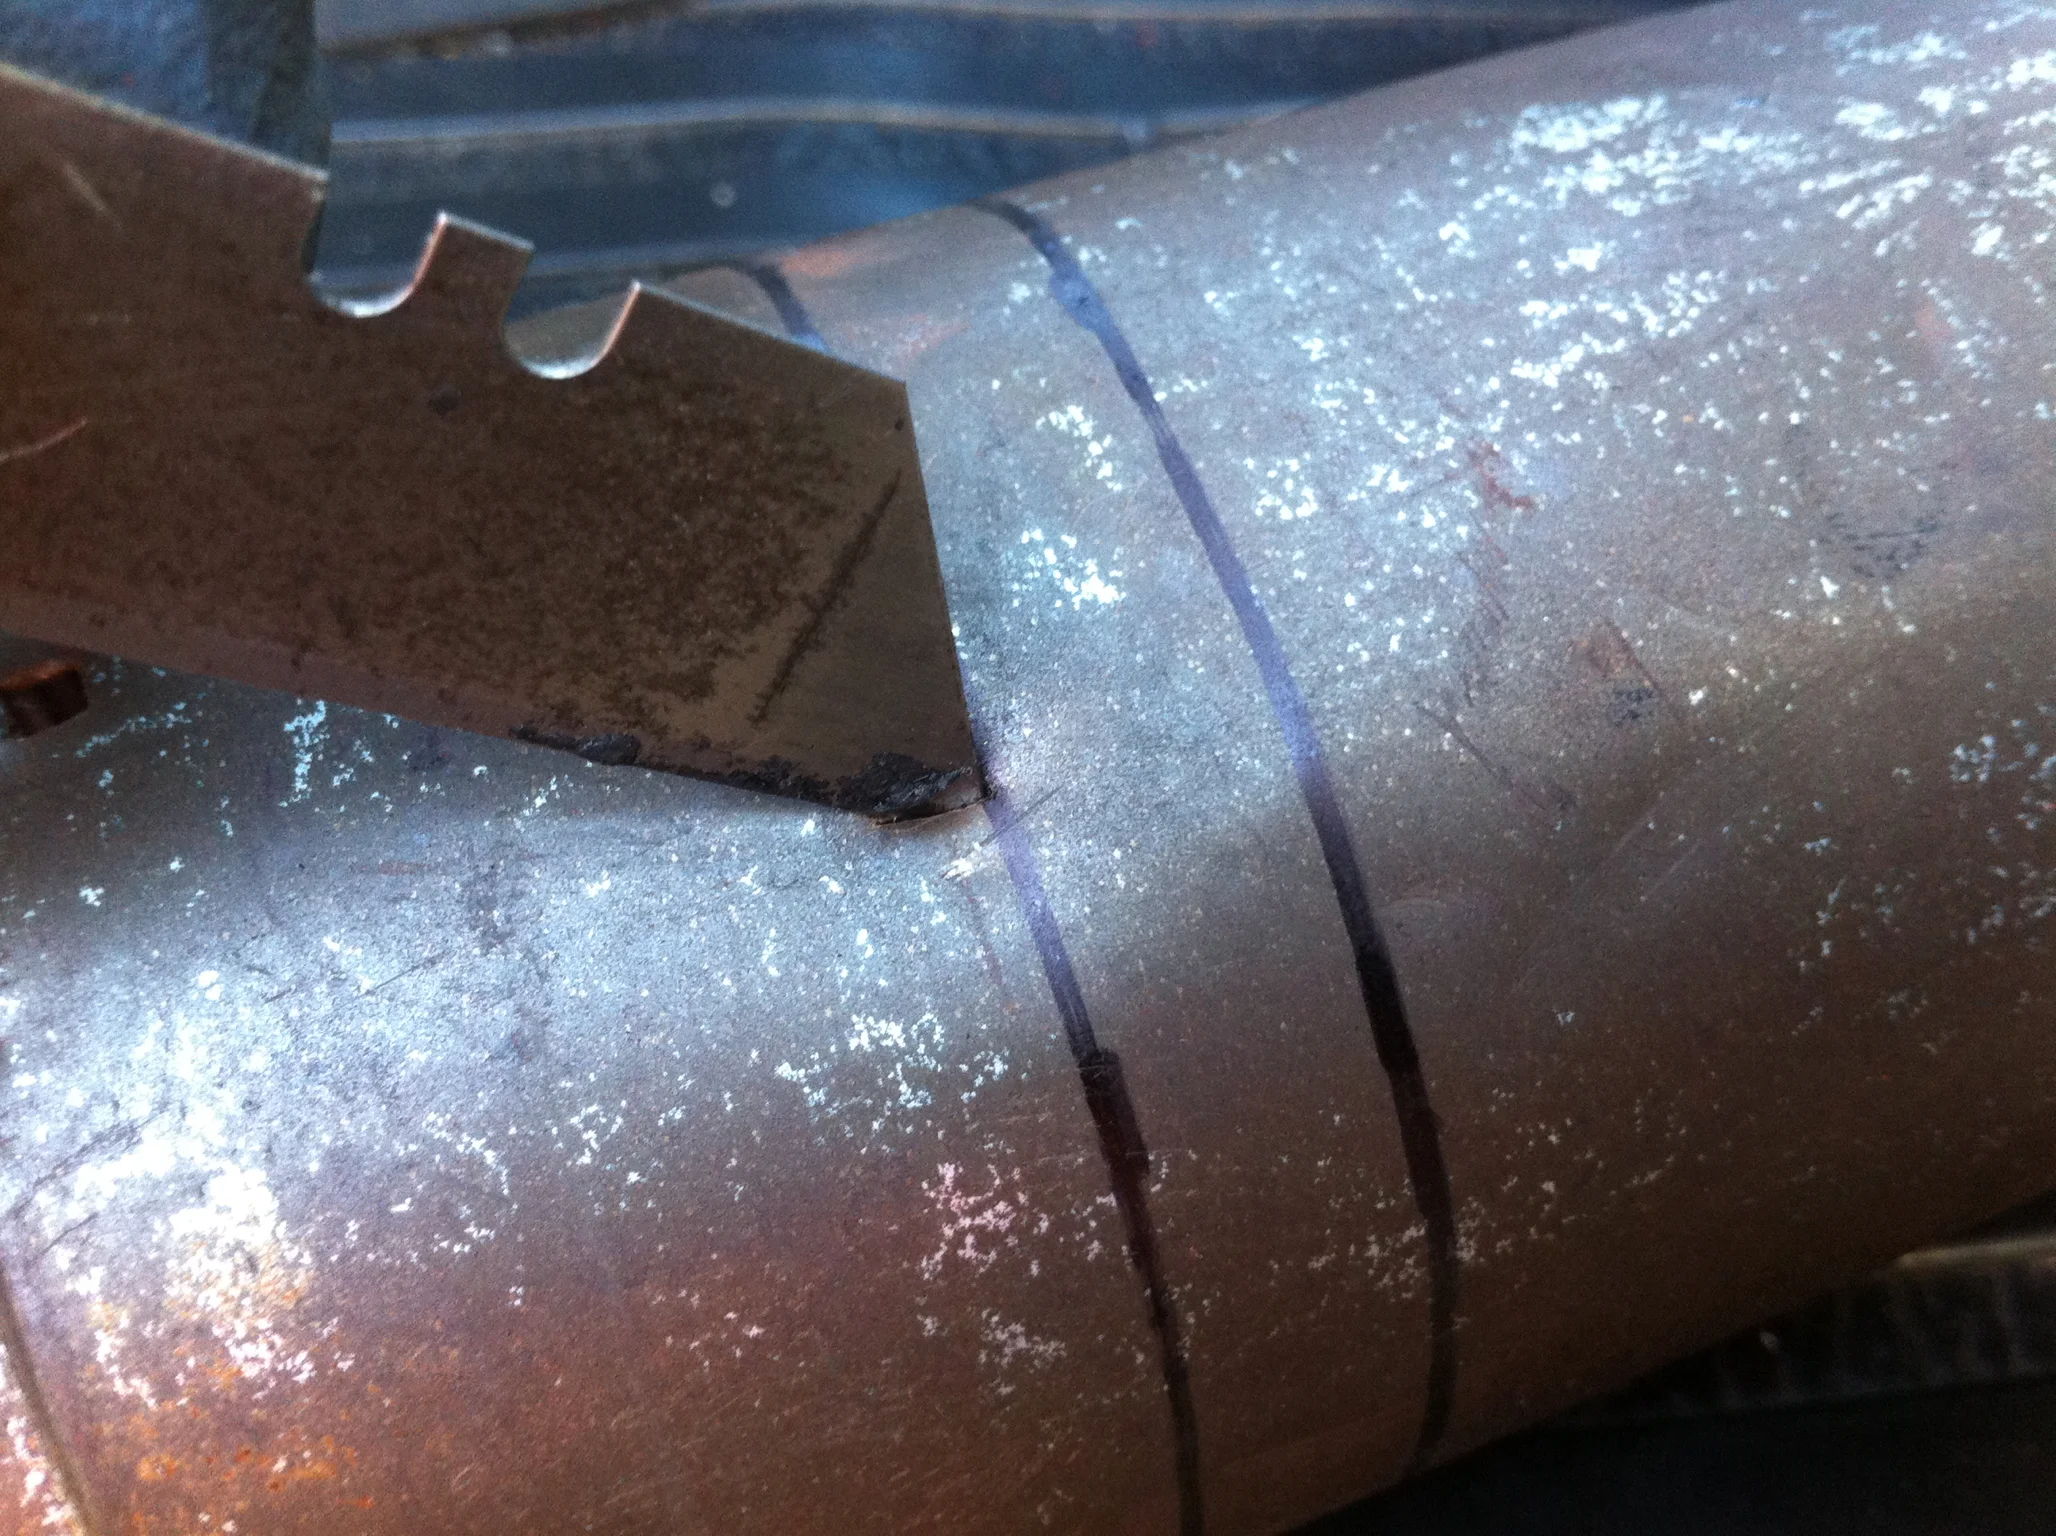
I used a sharp blade to create an entry point for the cutting head of my air hammer.
I then begin to cut along the top edge of what will be the tab.
The shape of the cutting head is designed for thin sheet metal and shears a small portion of the metal from the center.
This shear tool leaves a clean straight cut and minimizes and warping of the metal which can happen when using other scissor type cutting tools.
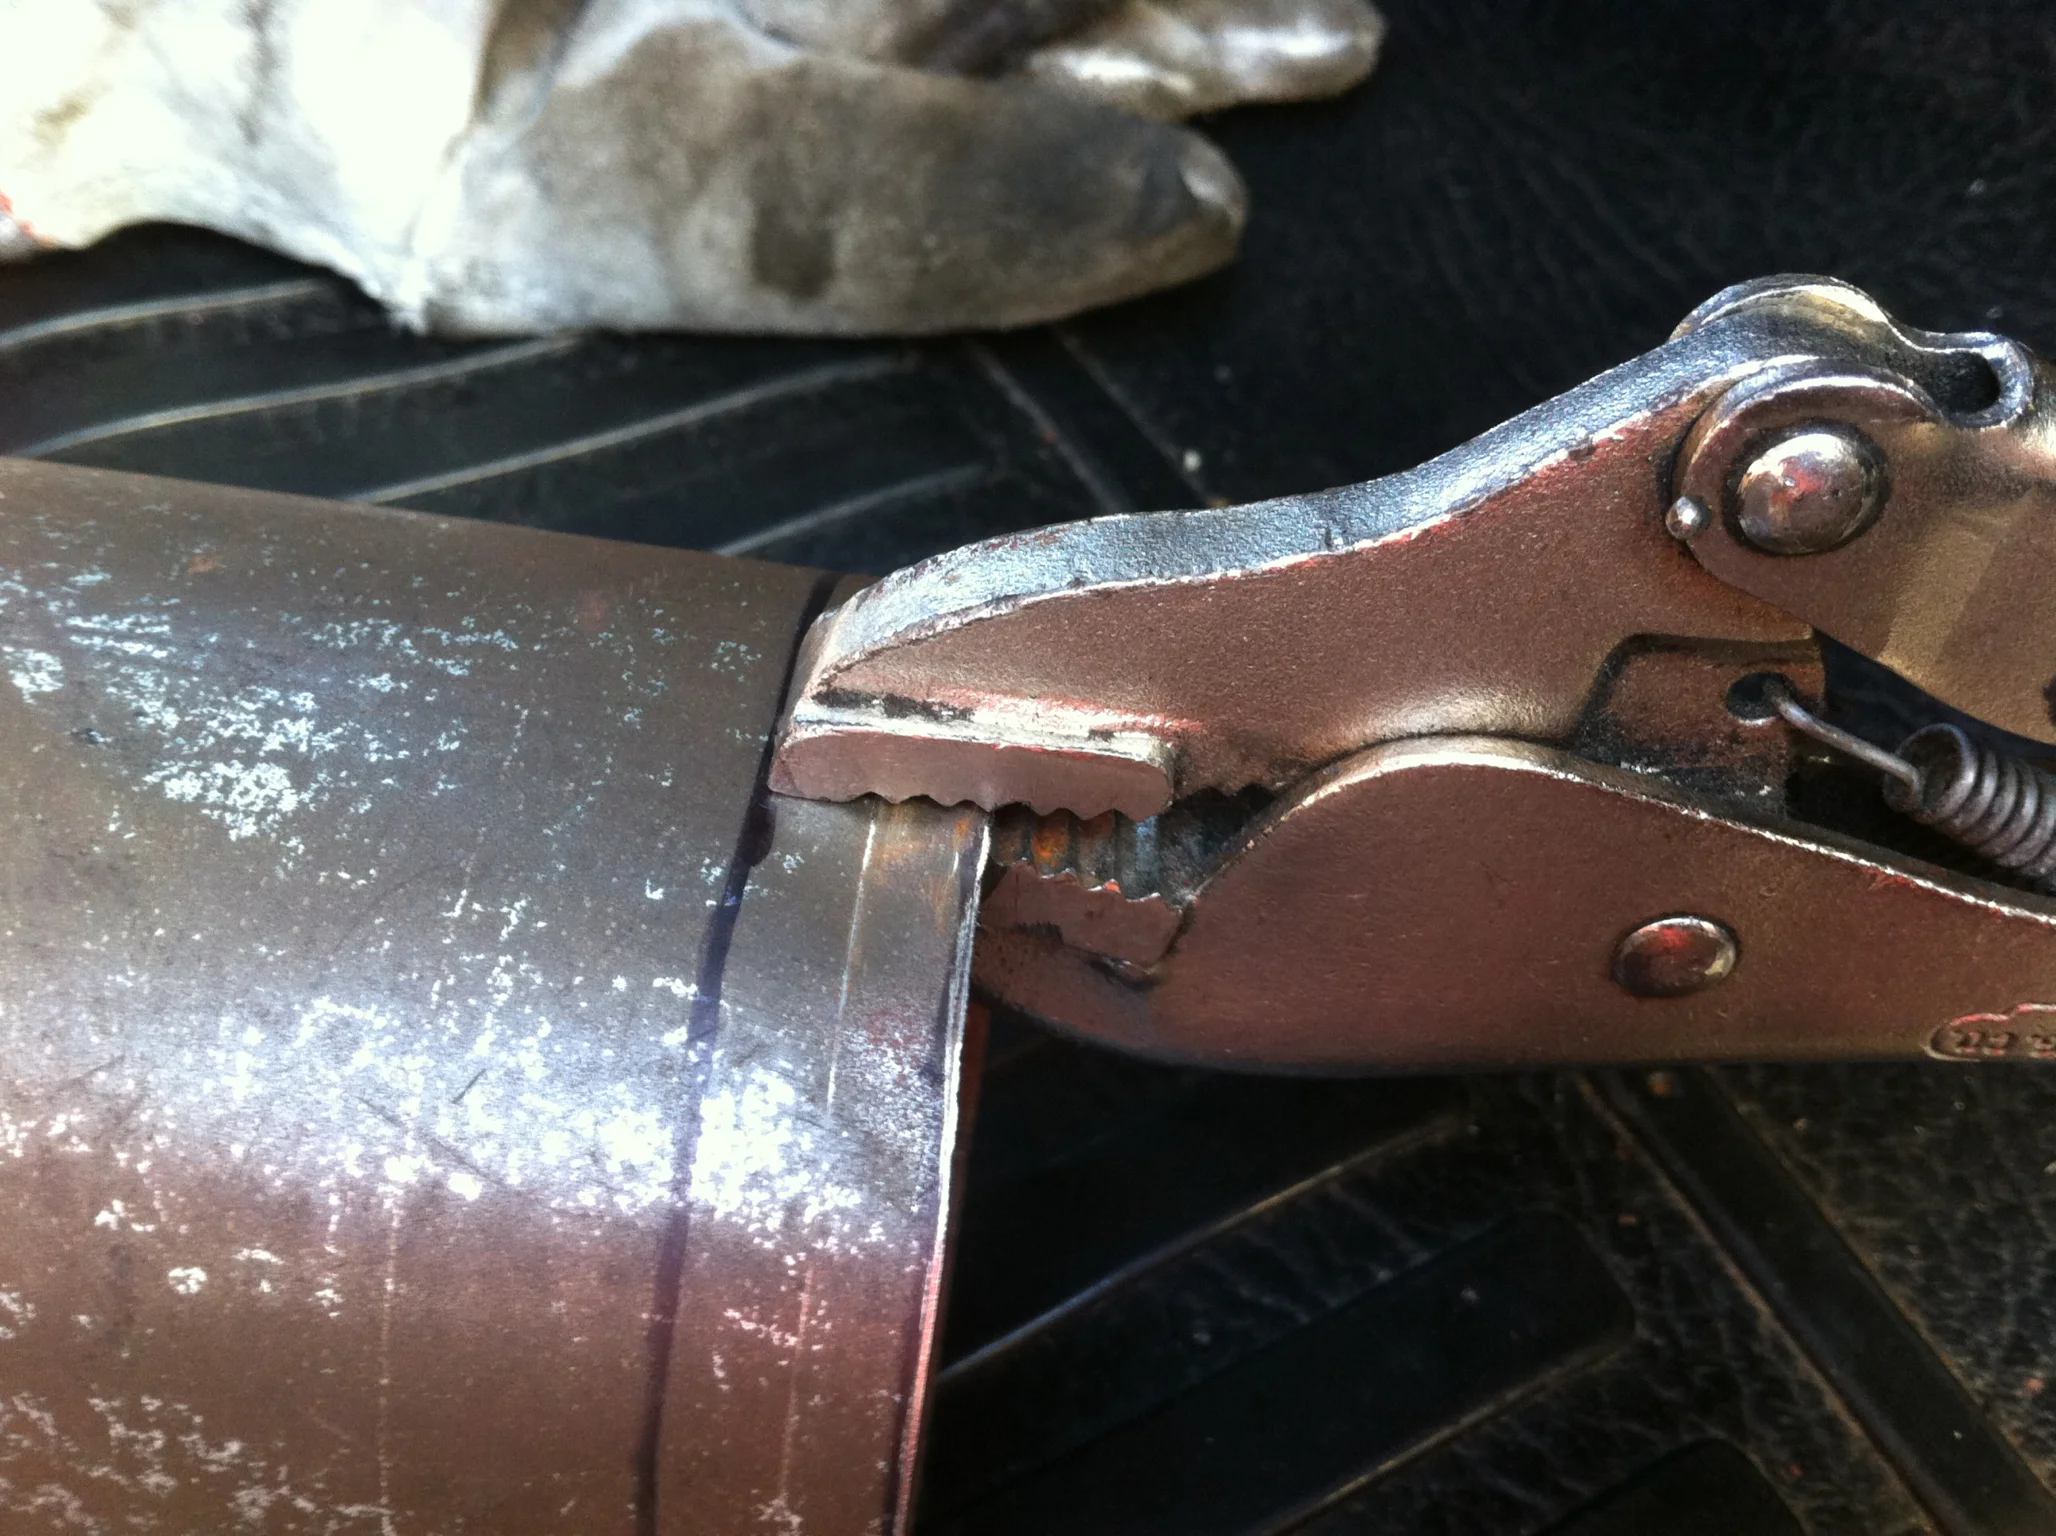
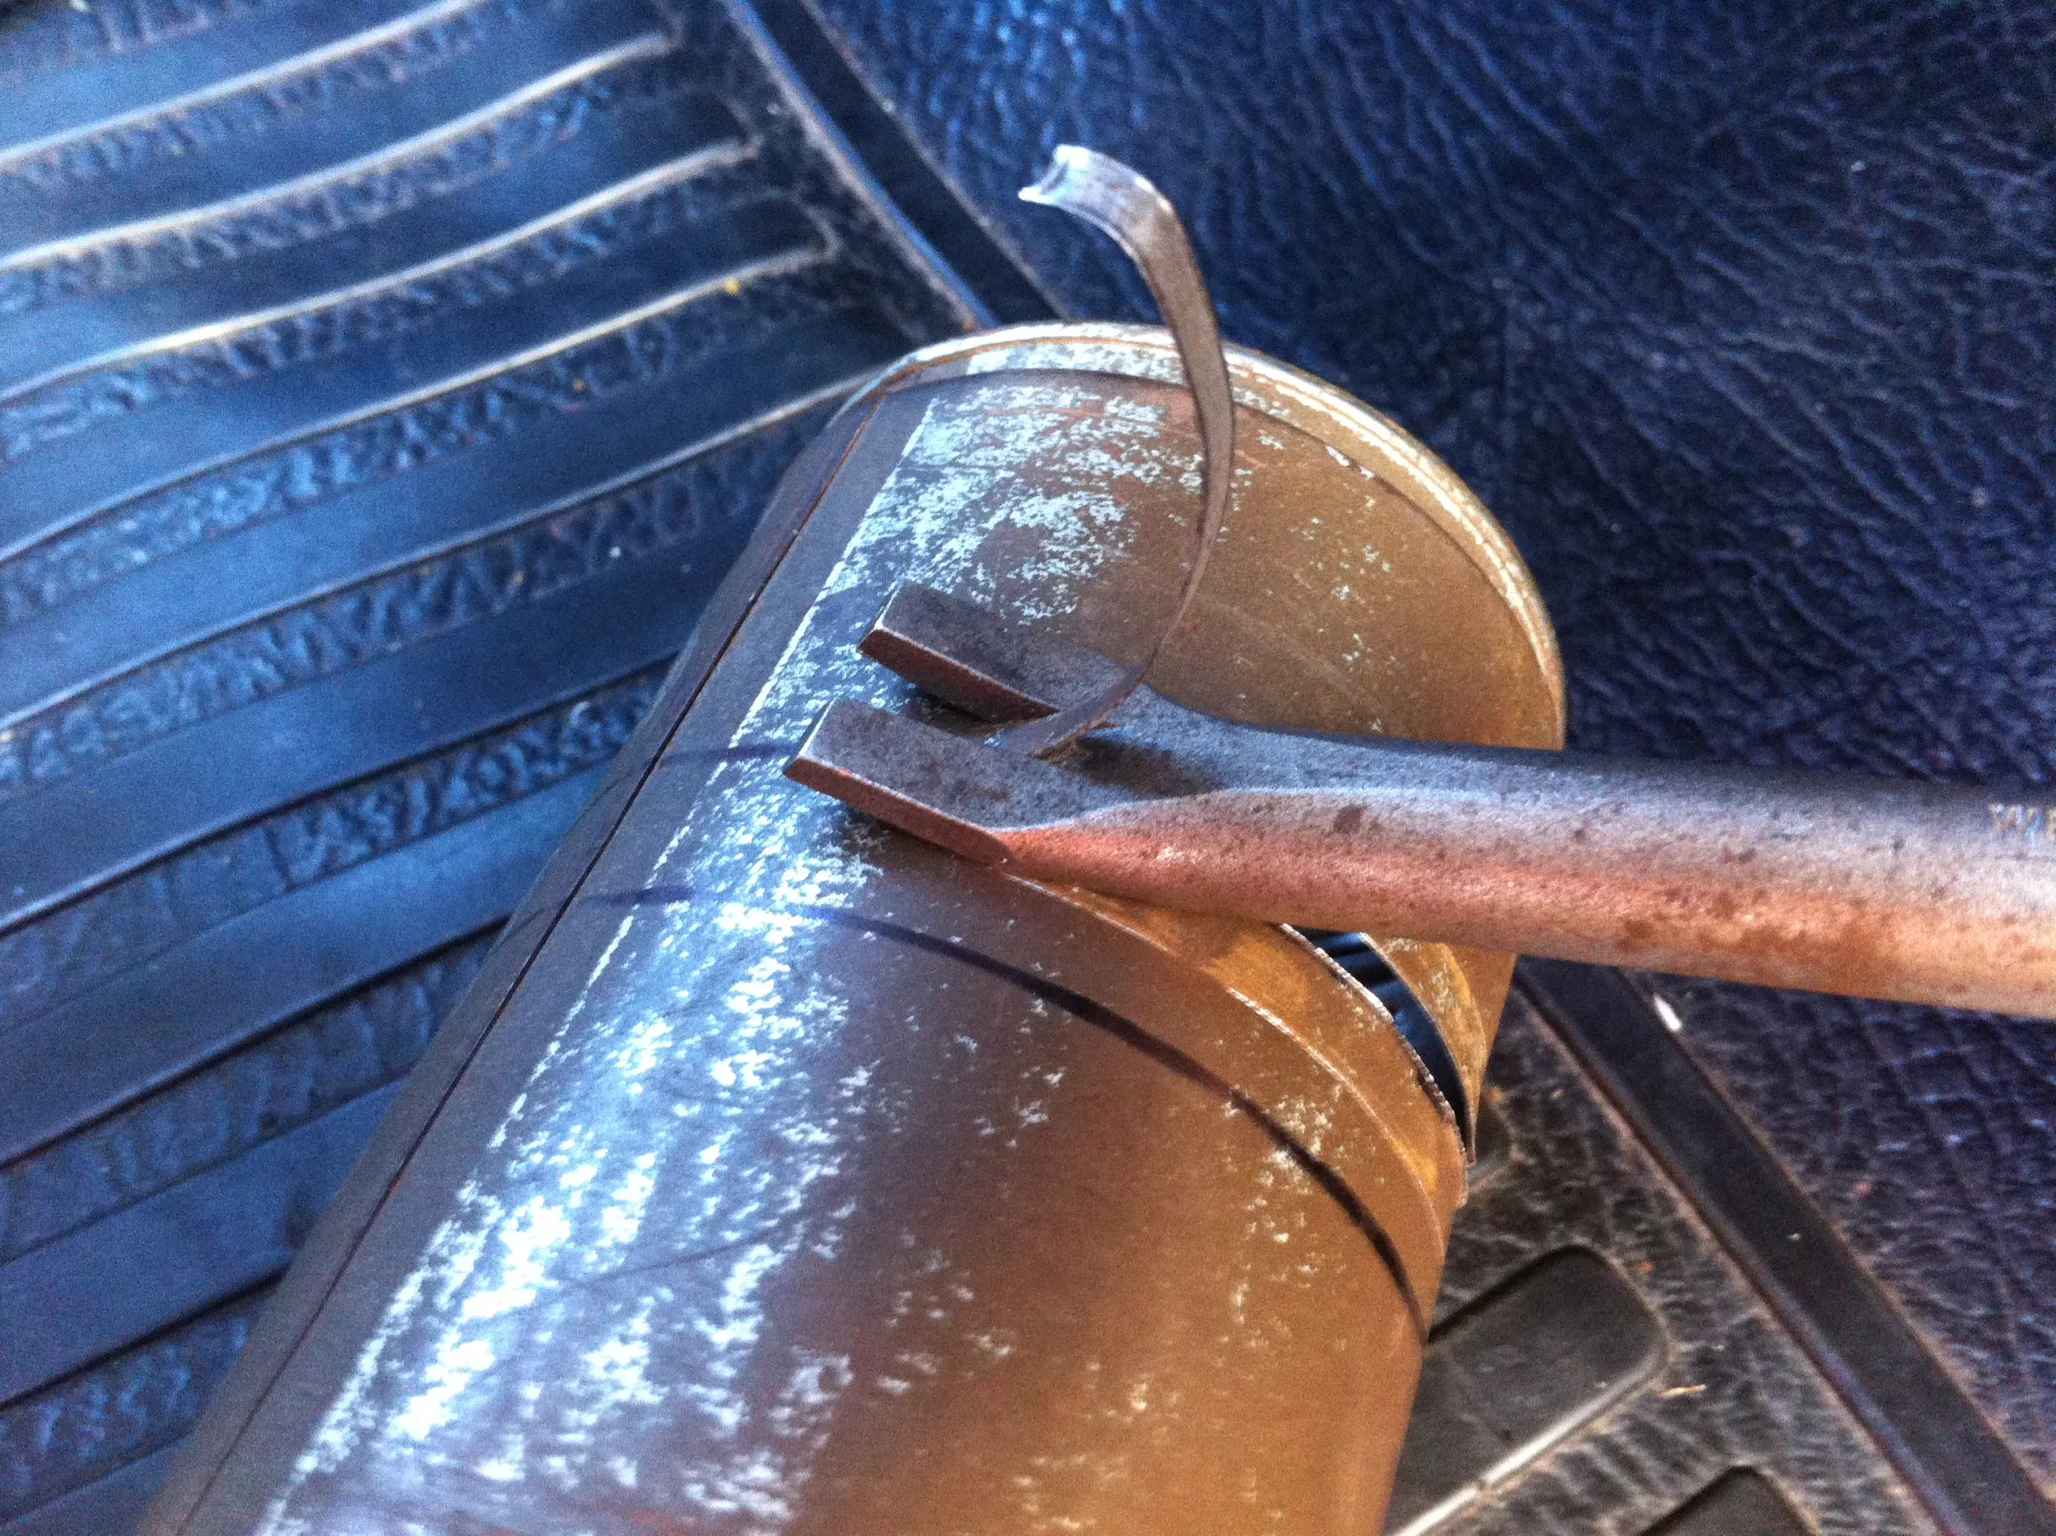
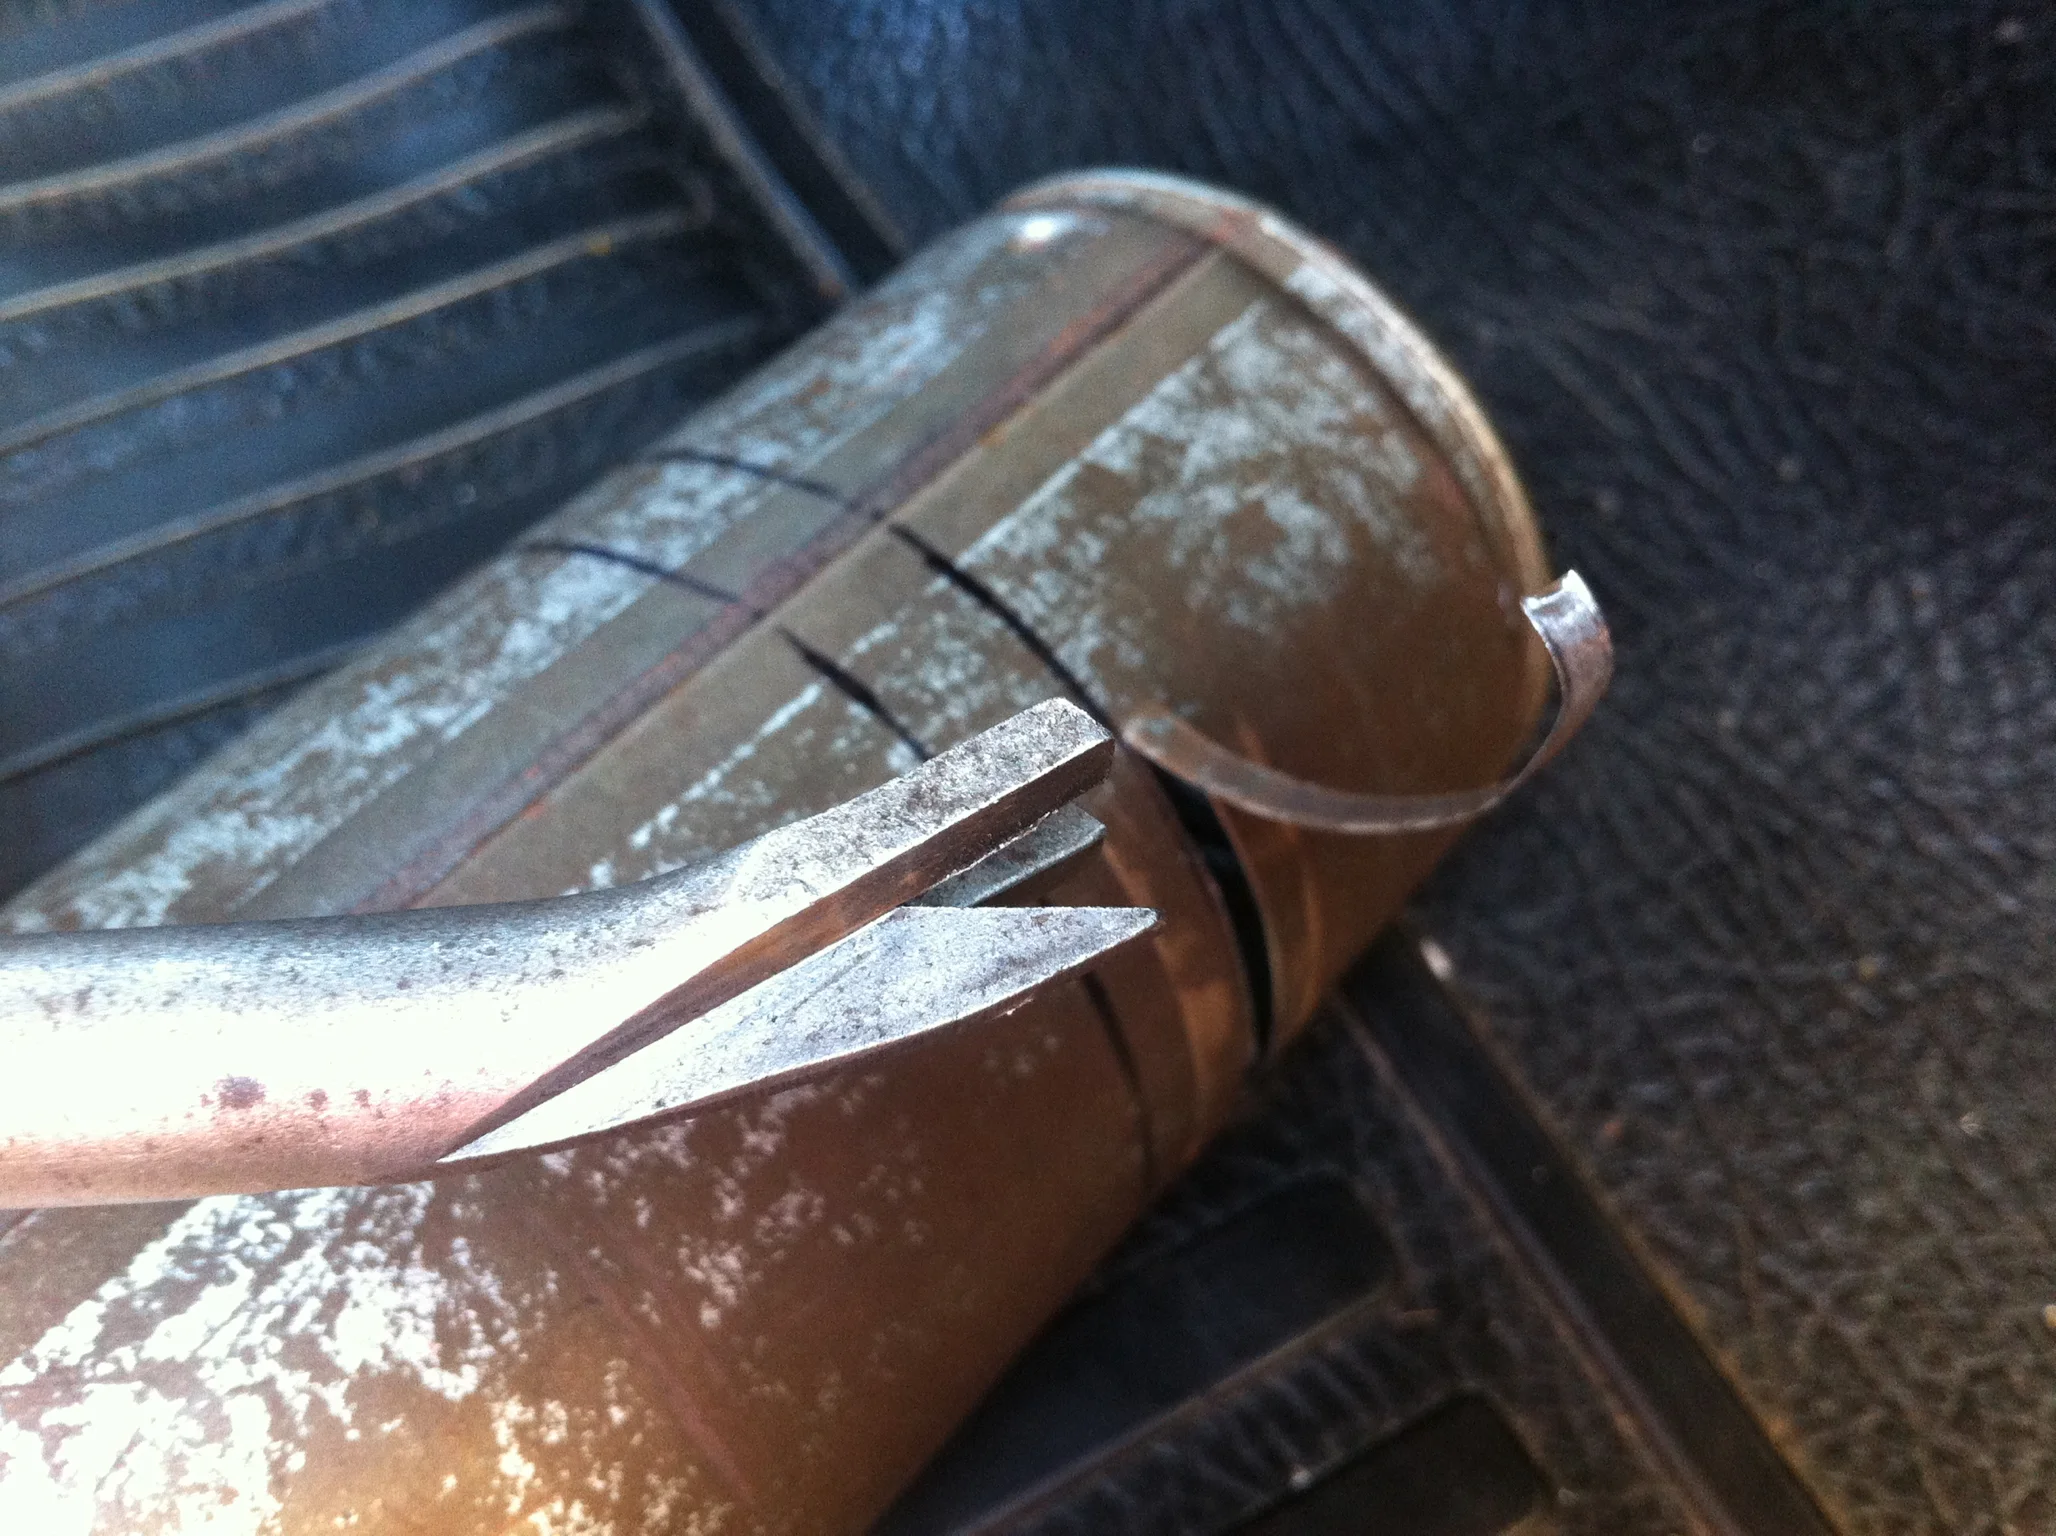
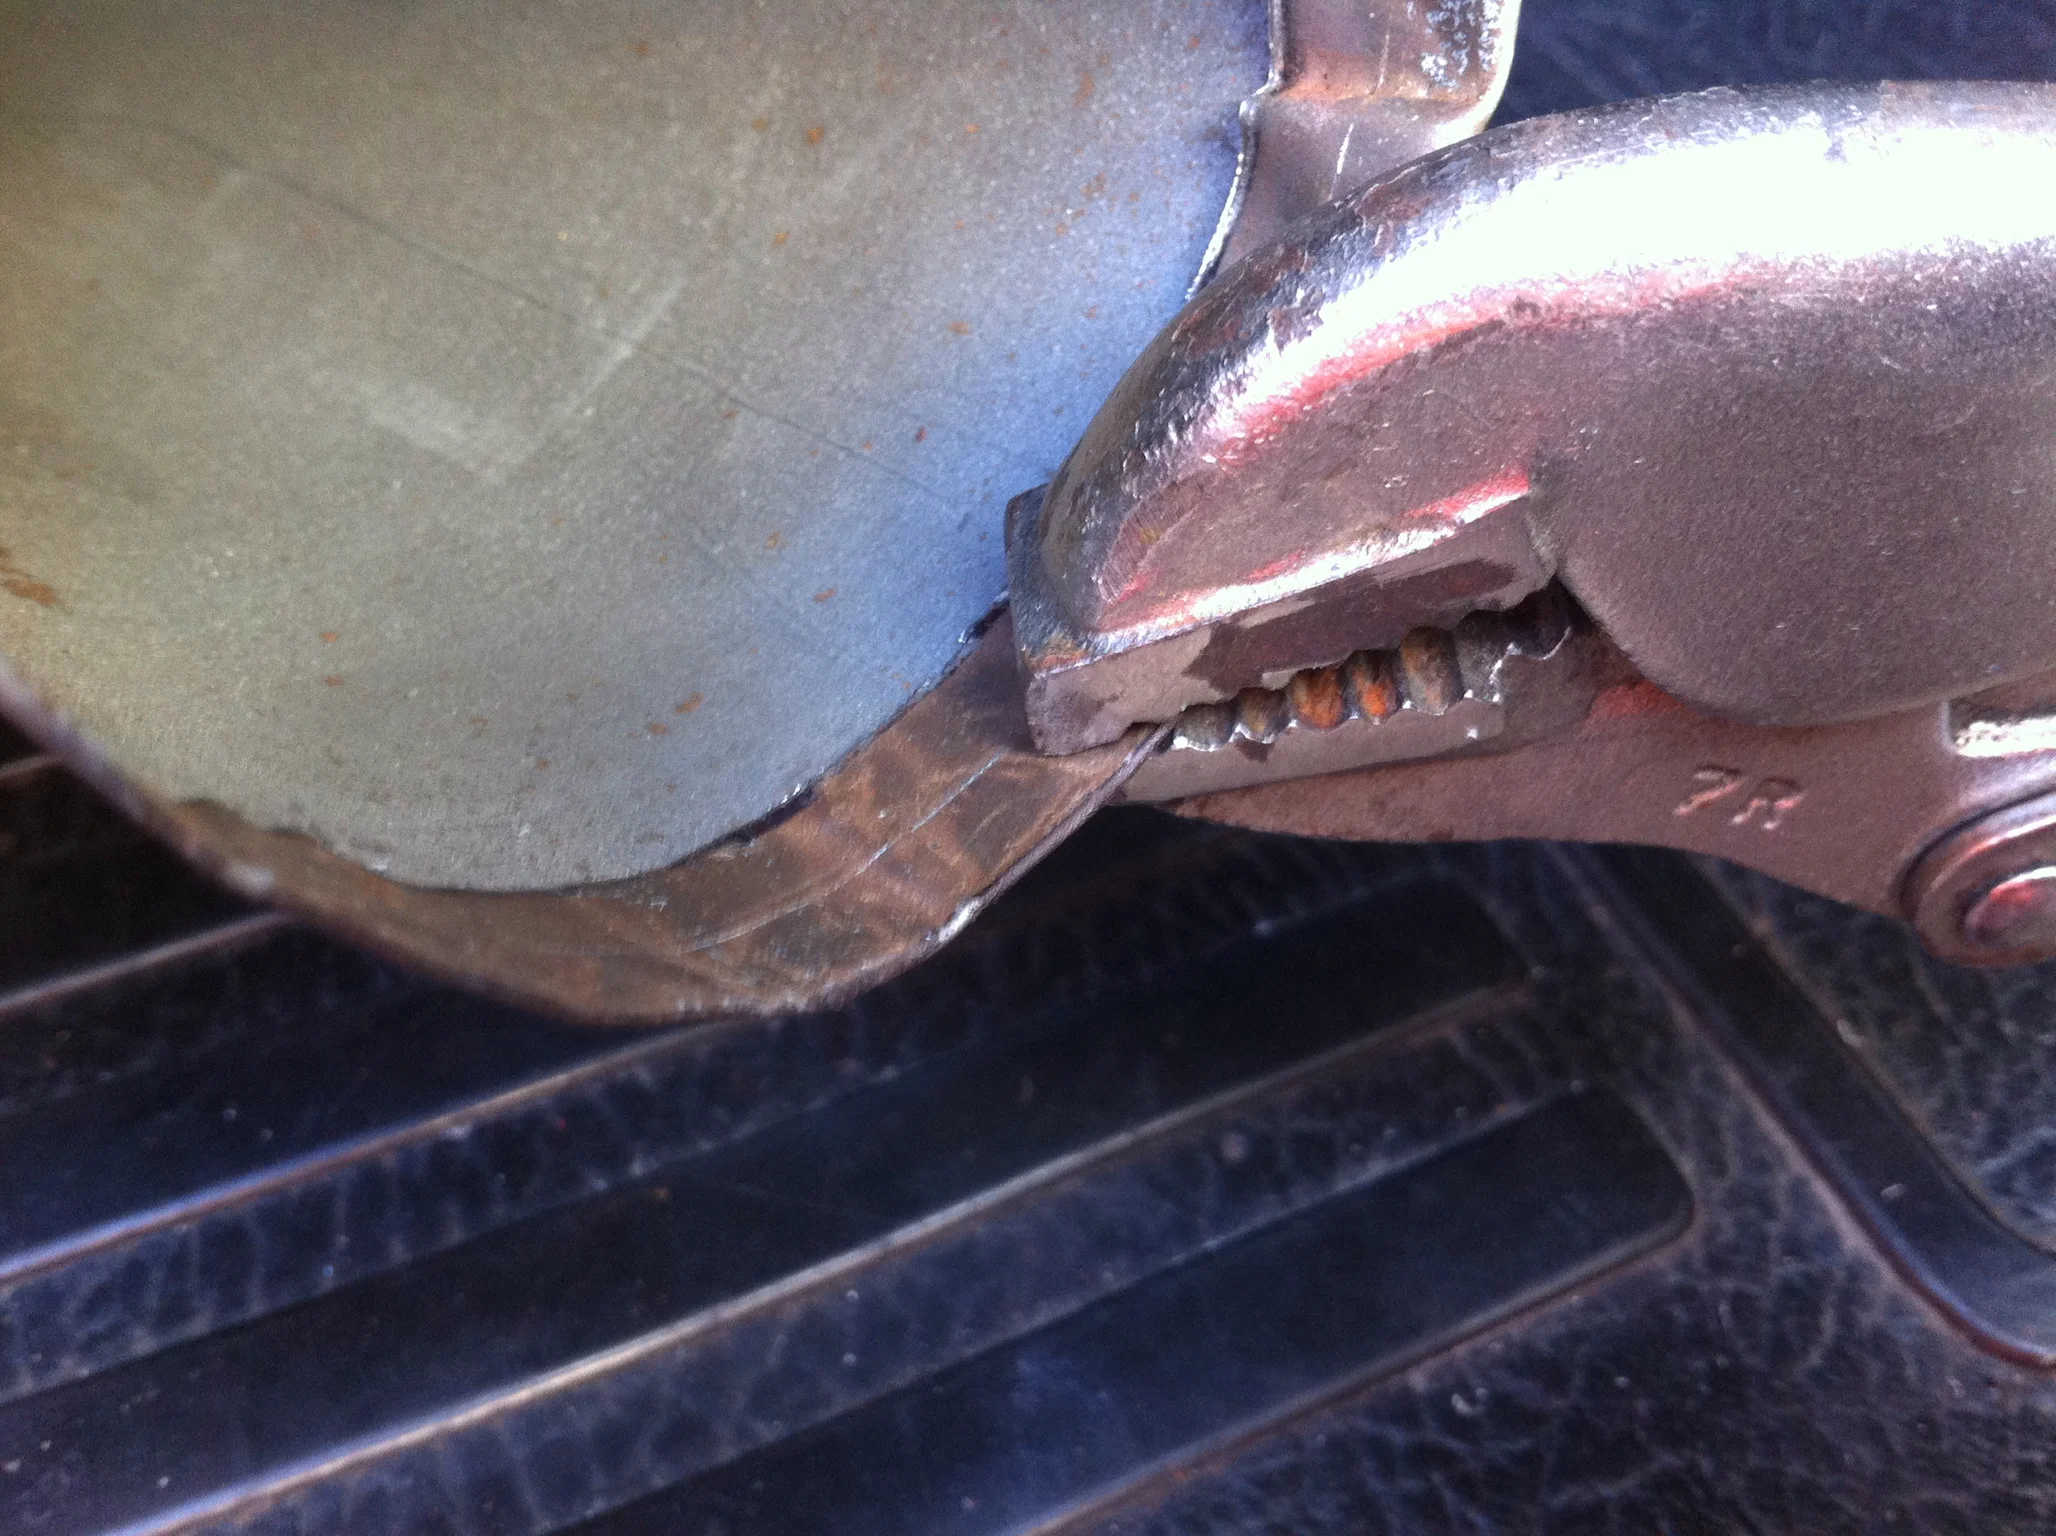
Using a pair of locking pliers, I place the nose edge flush with the line representing the finished height and with the locking handle facing outward.
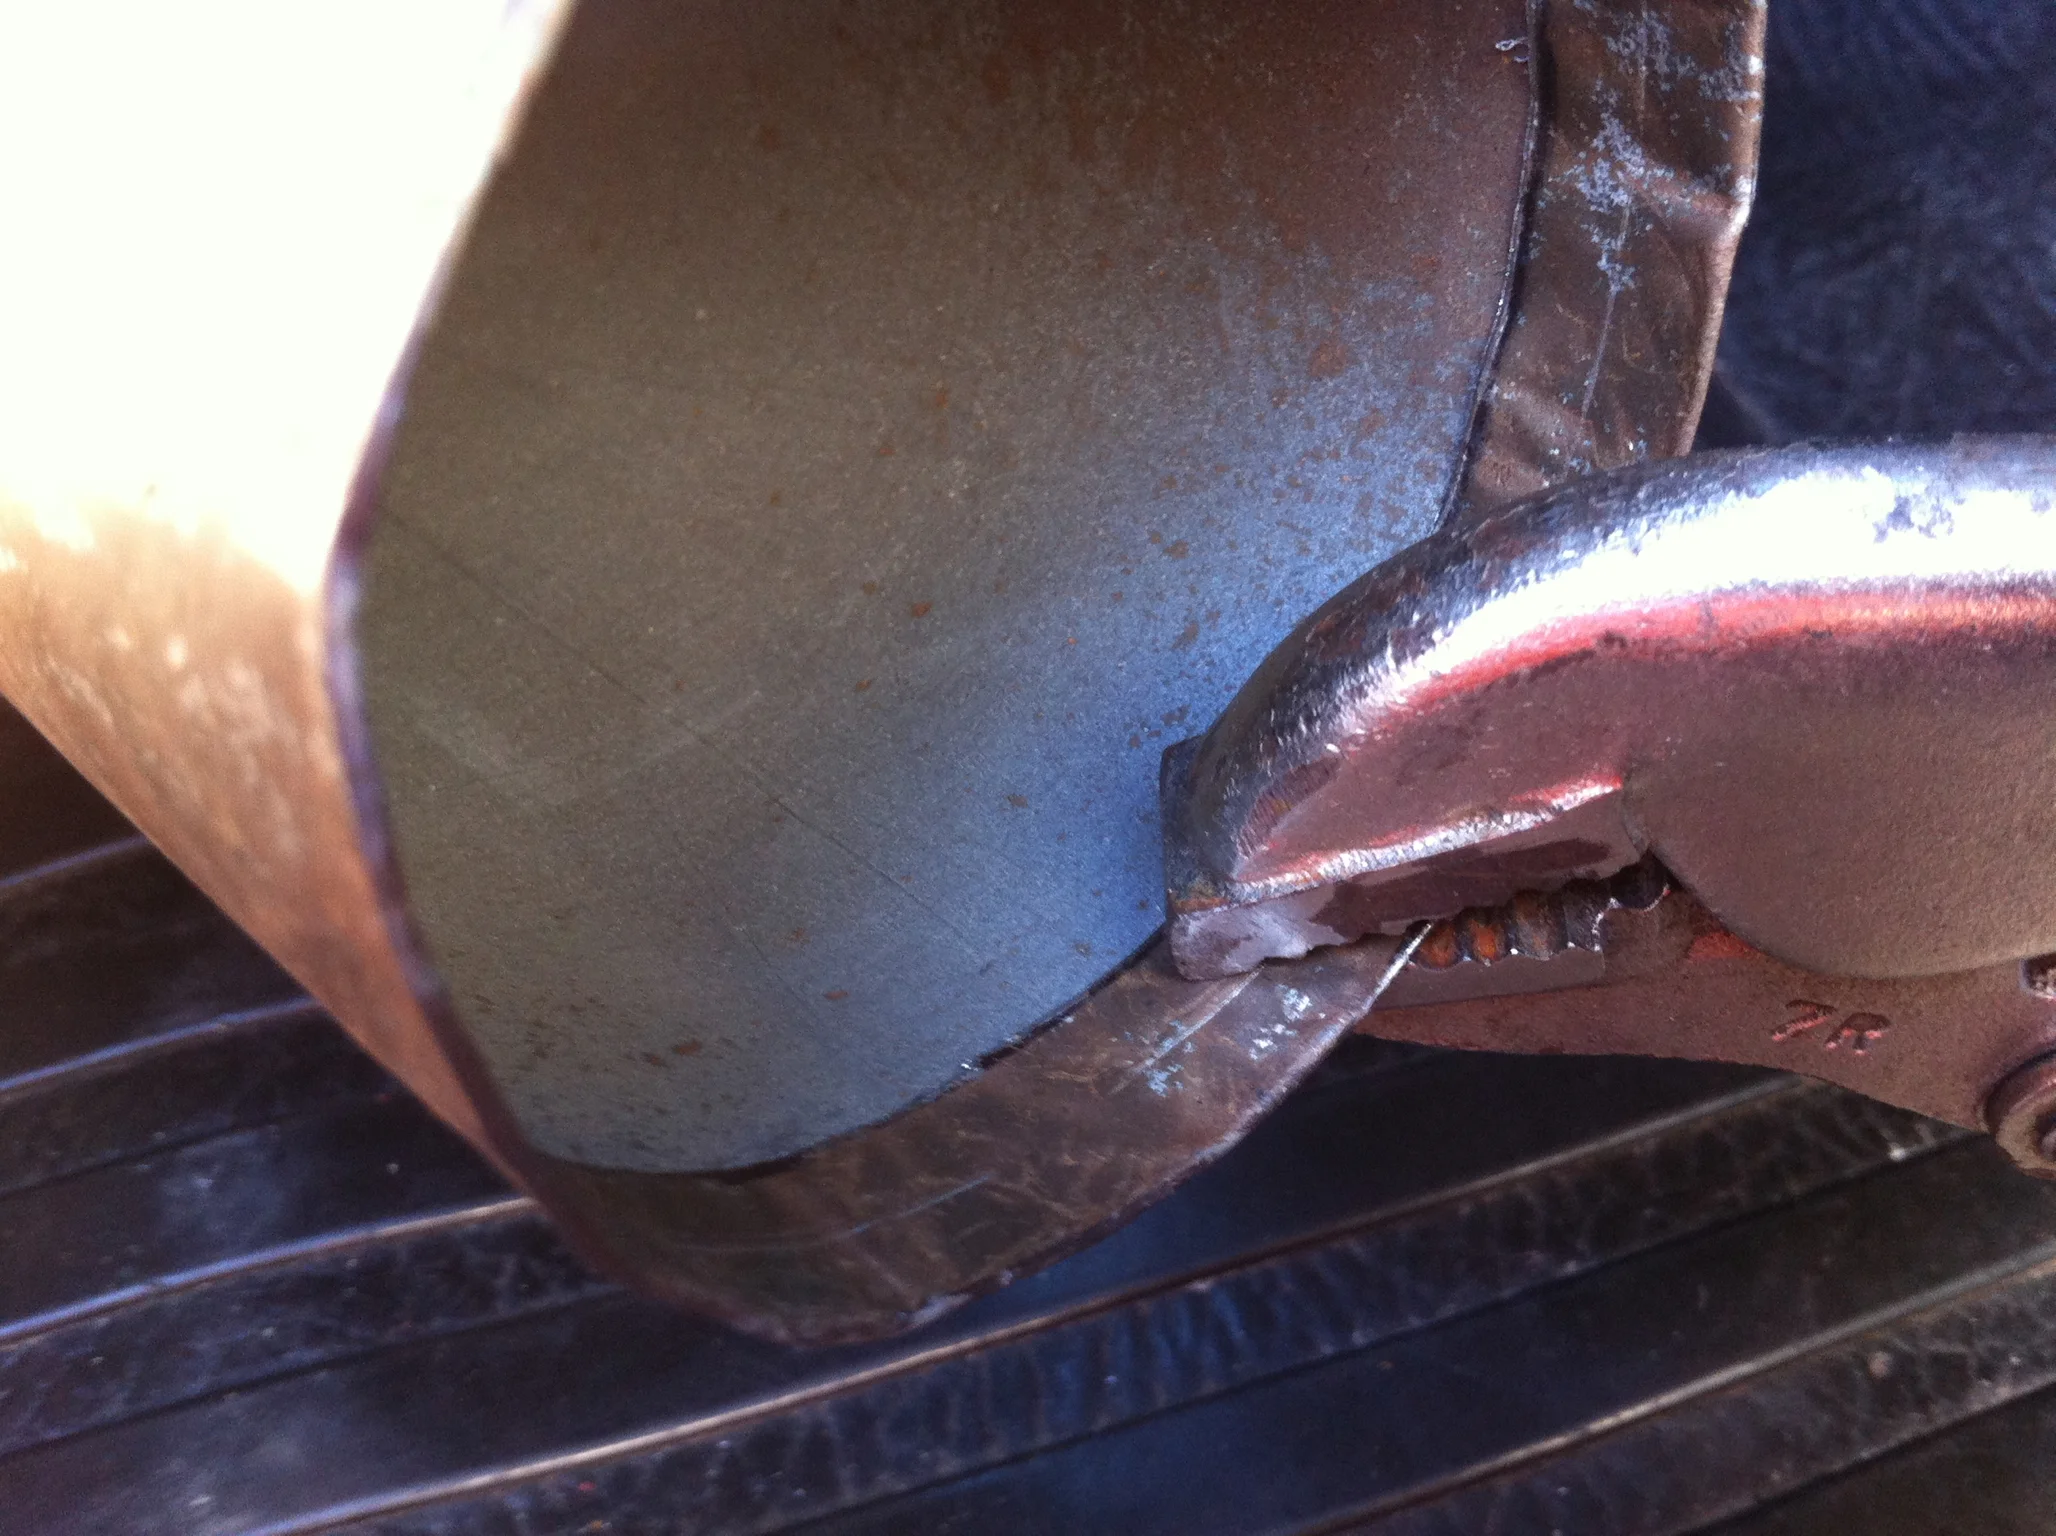
I carefully bend the metal inward about 45 degrees, then release and remove the pliers.
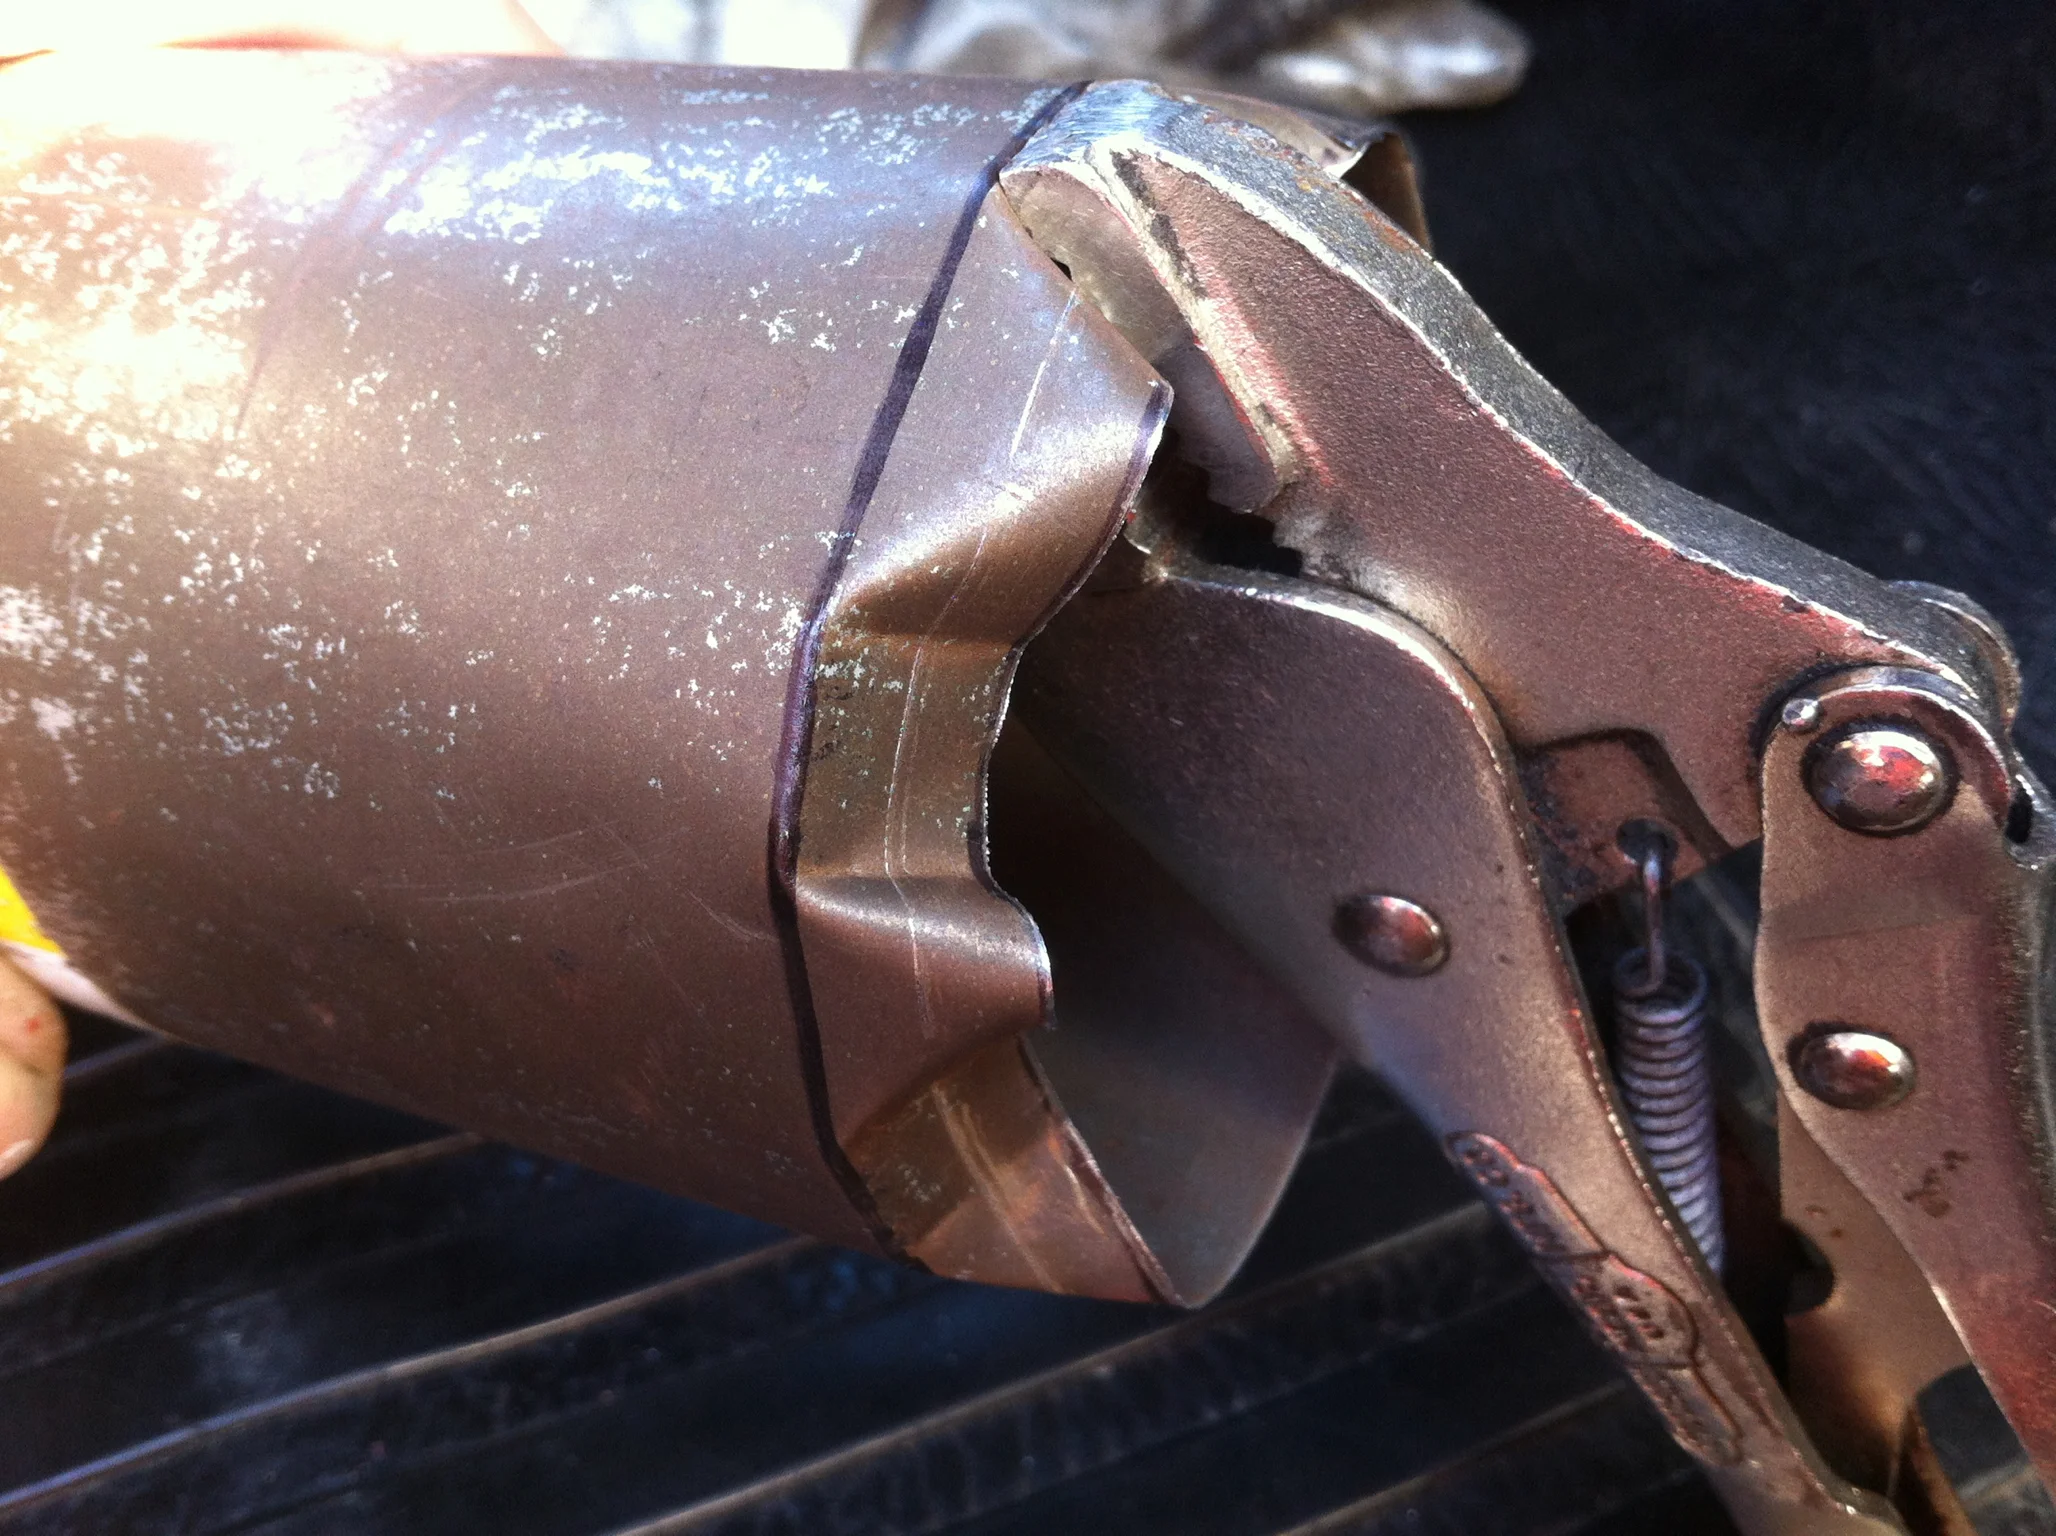
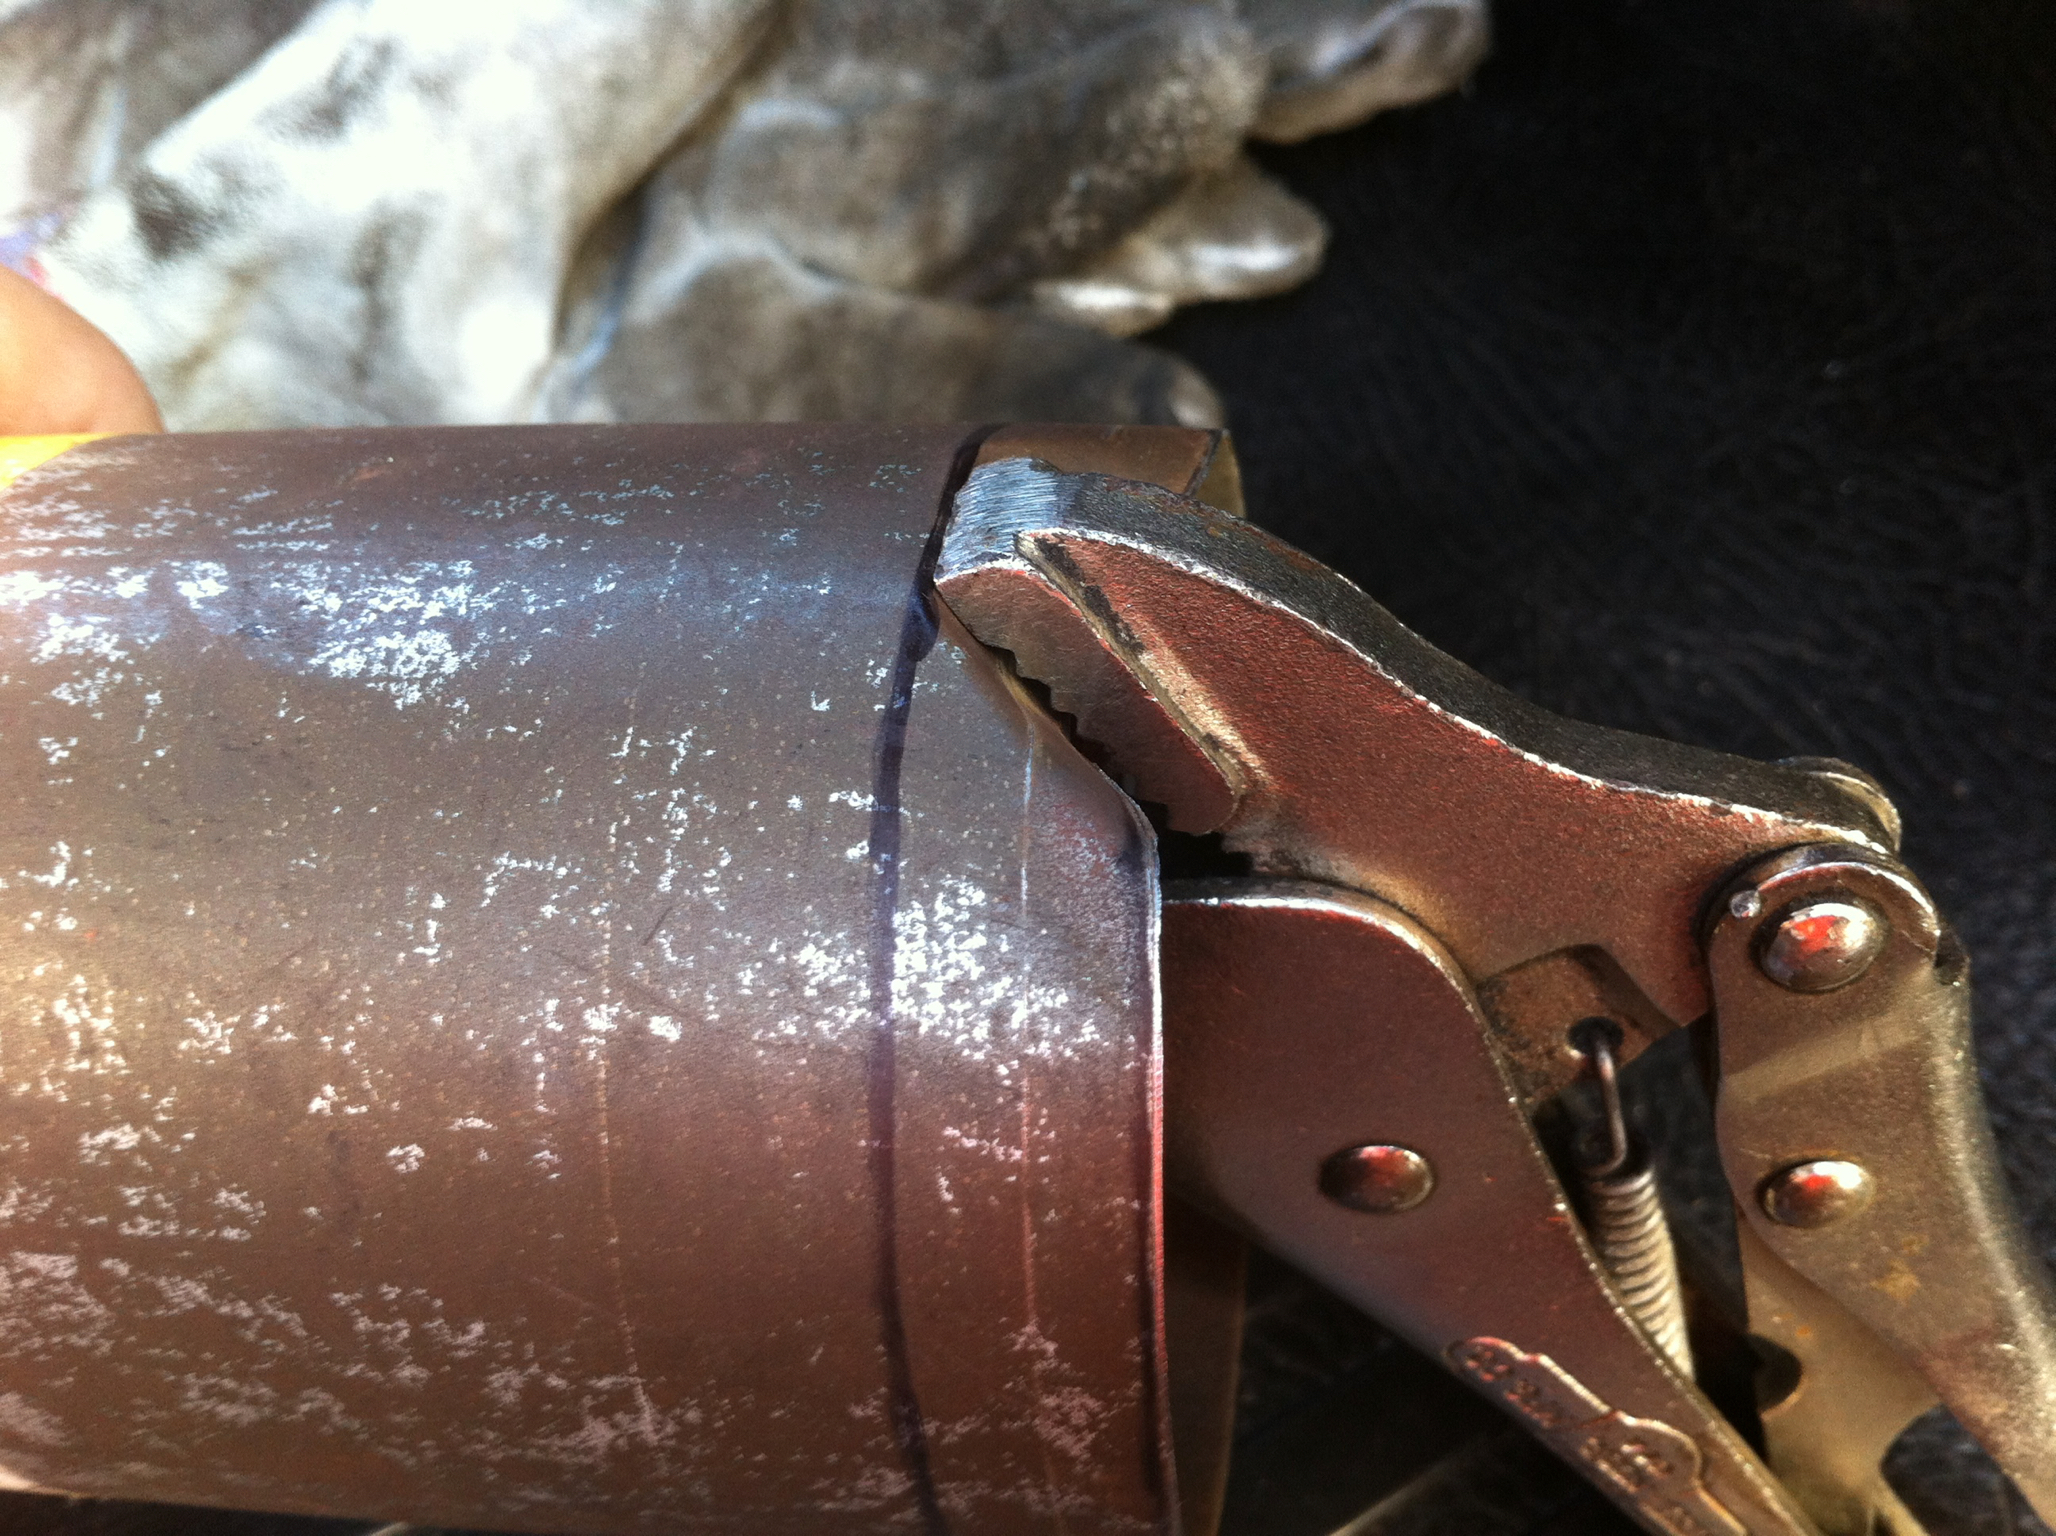
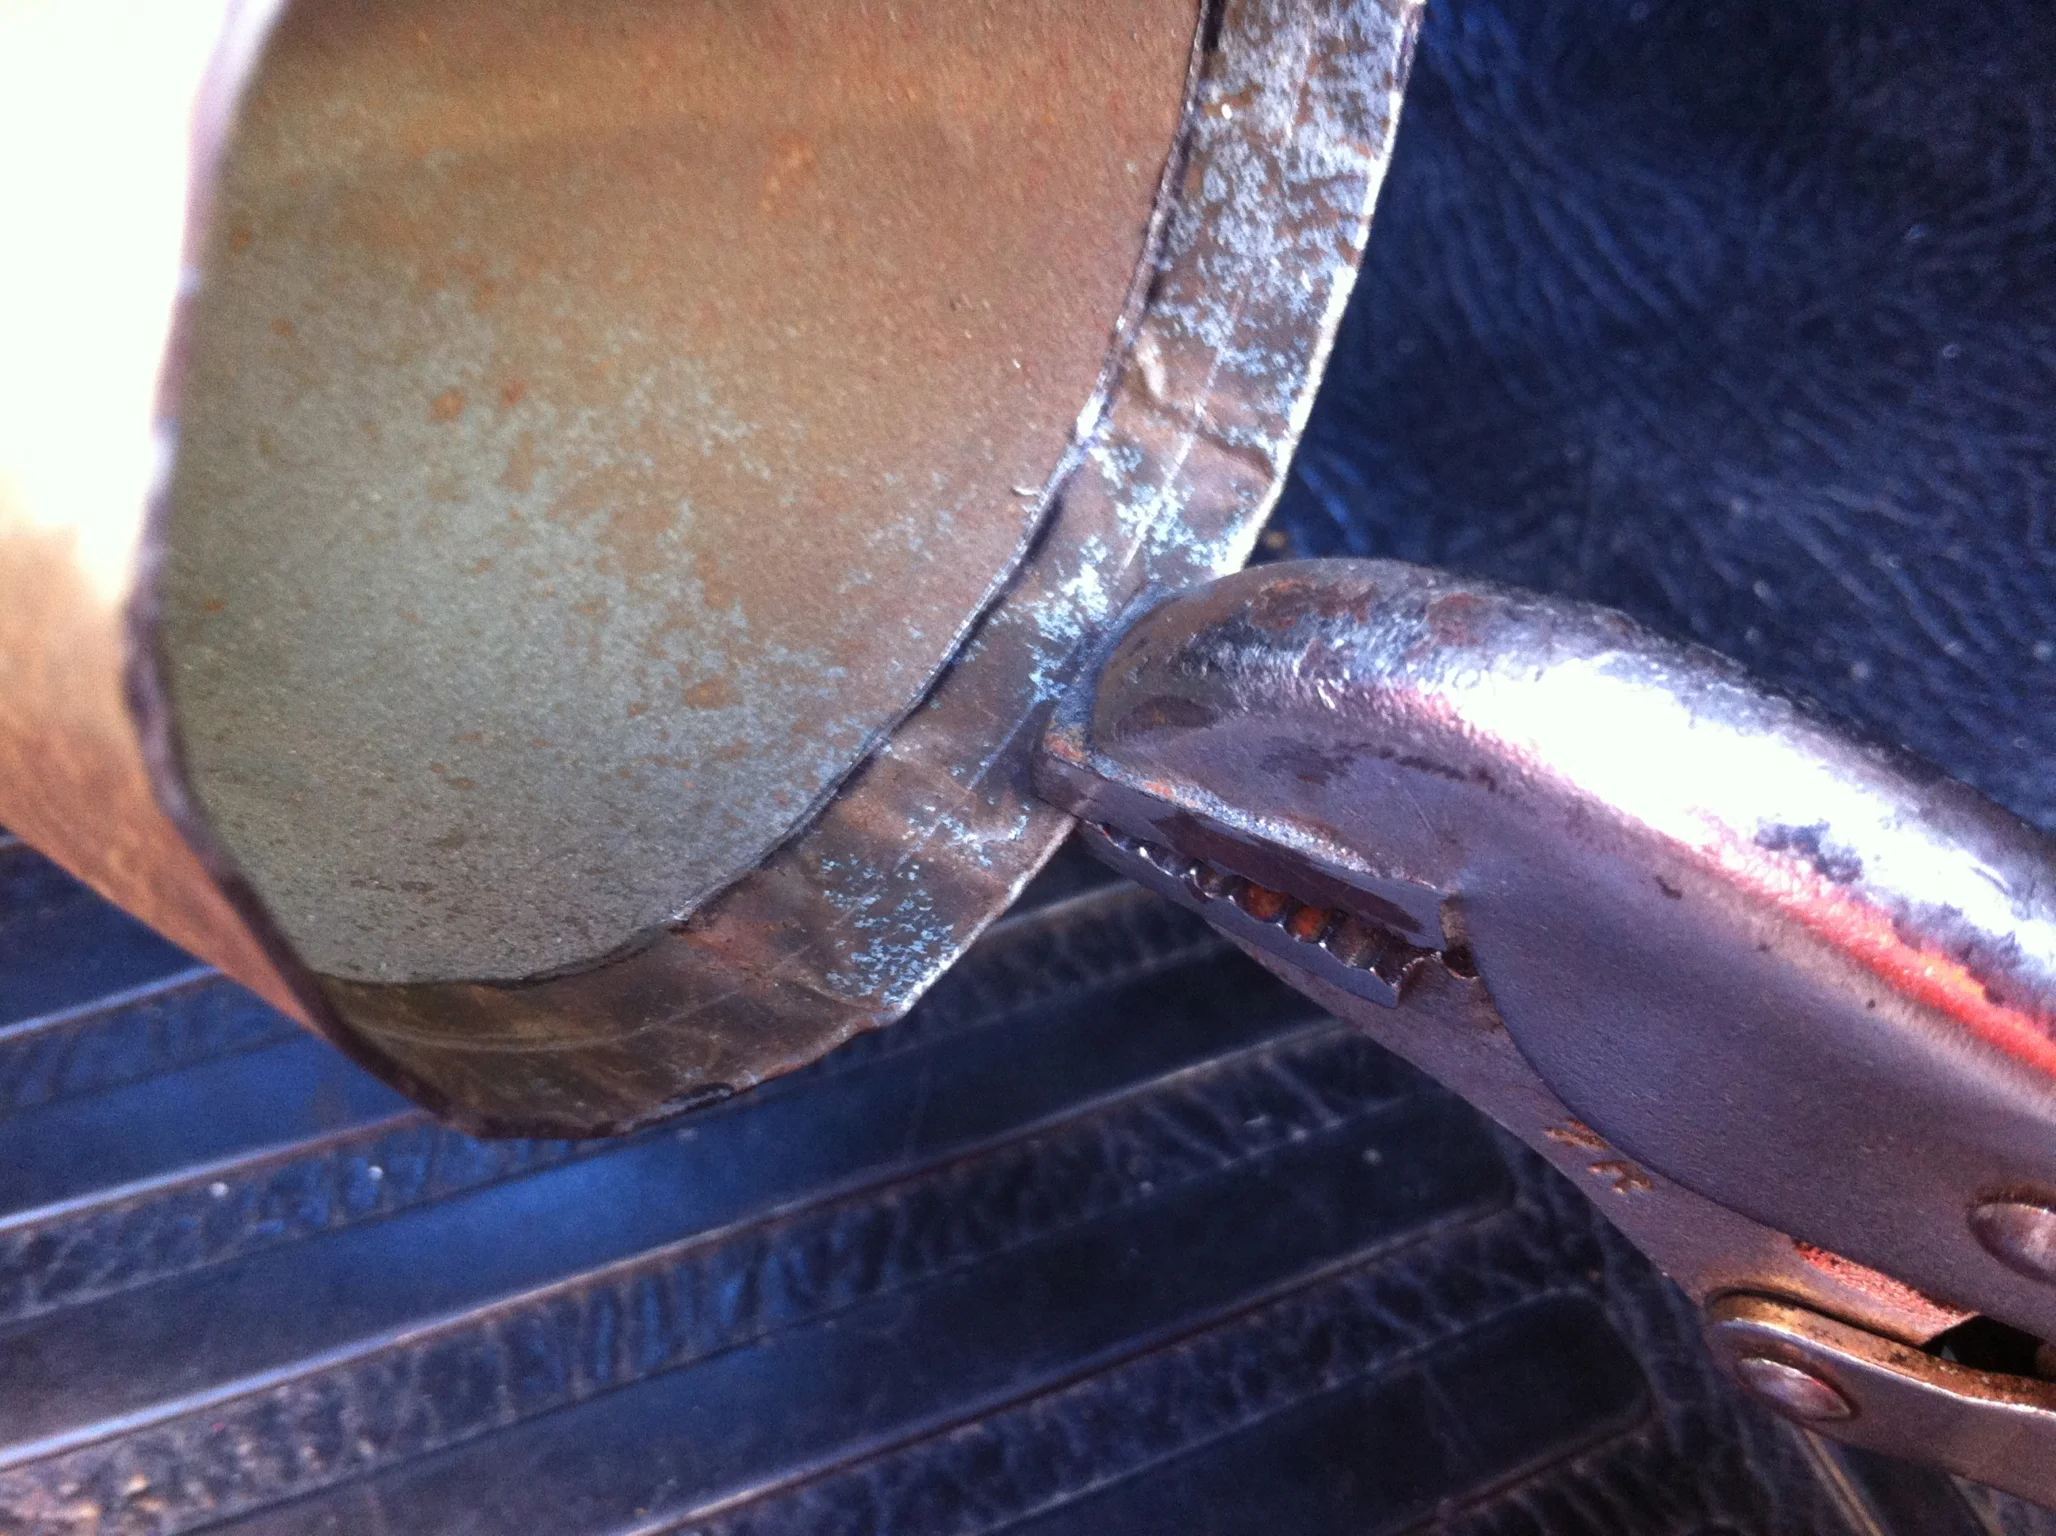
I reposition the pliers again leaving a space from the original bend and lock the pliers in place. Then I repeat the process of bending the metal to 45 degrees. By spacing the bends this way, the metal in between the bends can flex enough freely without binding or cracking.
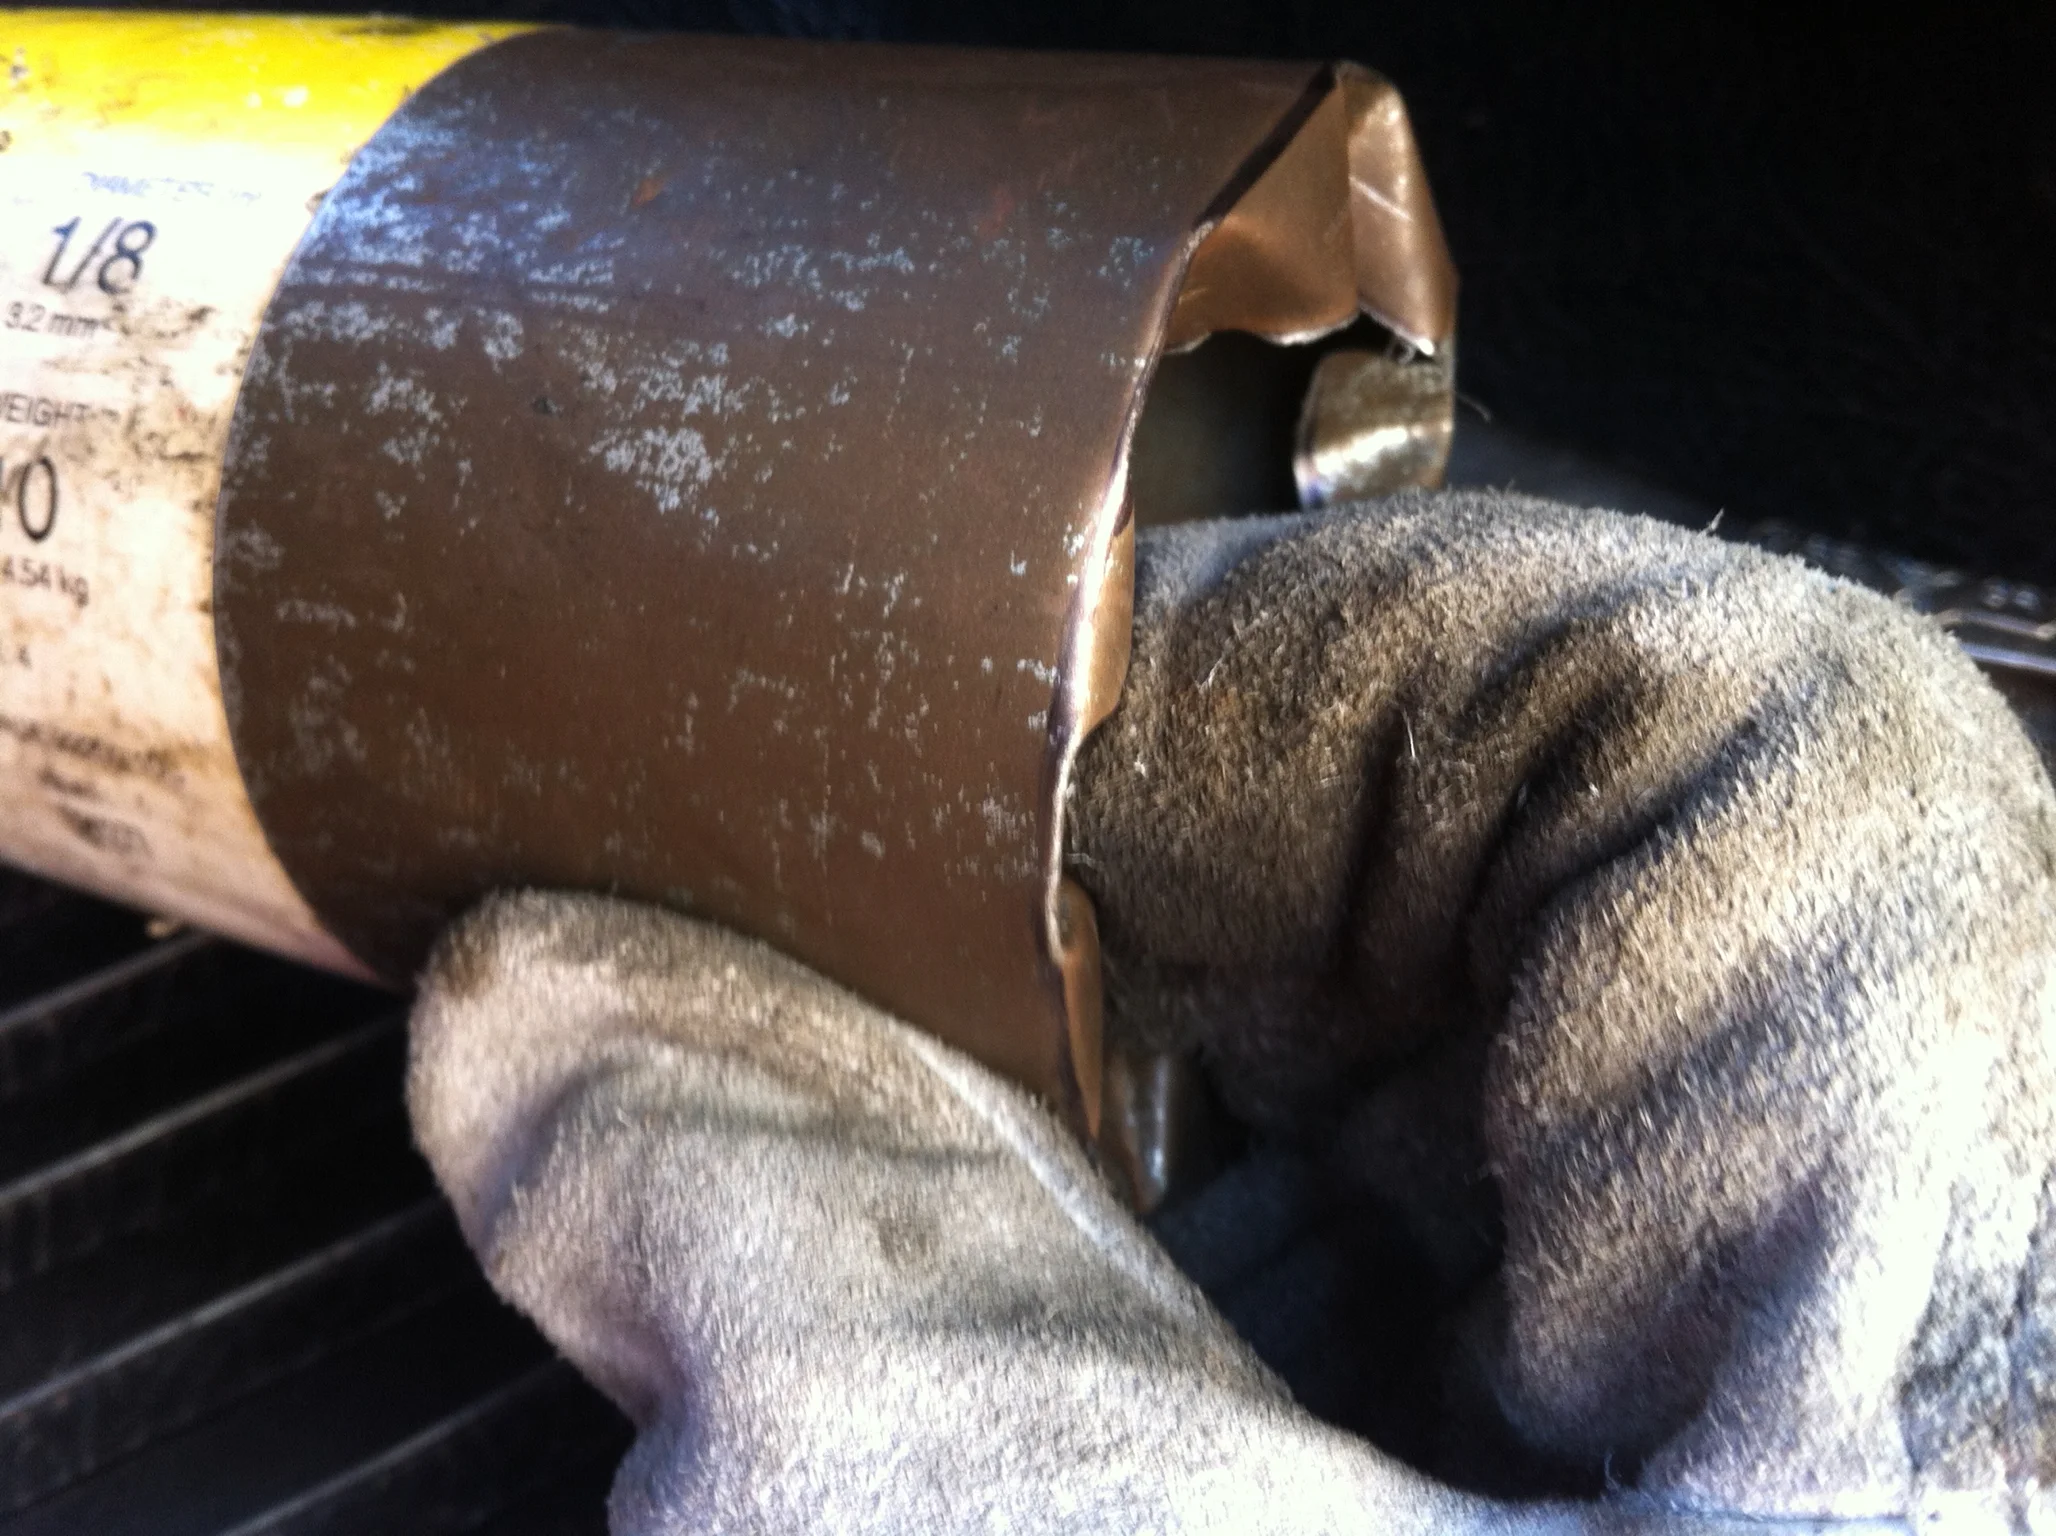
Once I worked my way around the edge with pliers, I used a cut resistant glove to fold the remaining sections carefully inward.

I press this tab that’s created flat against the inside wall of the container.
At this point, I use the pliers again to carefully flatten out the tab working slowly around the entire edge. This first pass is done lightly to take out the larger waves.
The second pass is done with more pressure to smooth out the remaining high spots.
The final pass is made at the top edge to crimp down the fold. This folding process removes the sharp edge left from cutting the can and leaves a clean trim.
The result is a strong container to hold my mixing paddles which I can set on a shelf or even screw to the wall, keeping the paddles from floating around and providing a permanent place to locate them when needed. Once I’ve safely depressurized some other used up brake cleaner cans, I plan to test this method on them as well to hold and sort some drill bits.
